Click here for Season 1, Episode 1 Triple Chocolate Cake
Cooking with your kids and grandchildren is something they will never forget. I certainly remember cooking simple dishes with my Meme and more elaborate baking from an early age with my Grandmother Duty. They both had different ways of cooking and teaching, but it was all memories that I cherish.
My husband and I recently visited our son and his family in Dallas and I asked Jin if it was of if I could cook with our five year old granddaughter, Hadley. She happily said yes and even helped us film our own pretend cooking show!
We had a lot of fun, but y’all, this is a seriously good and easy cake! You’re gonna love it!! And you’re gonna love my very smart, sassy granddaughter! She makes me smile so big and laugh so much when I’m around her that my ribs sometimes hurt! You never know what she will do or say! She is pure joy!
We hope you enjoy our show and the cake!
By the way… there was no script, no rehearsals, no prompting of any sort. Mess ups and all it’s real!
Triple Chocolate Cake
1 box Devils food cake mix
4 eggs
1 cup sour cream (8oz pkg)
3/4 cup water
1/4 cup vegetable oil
1 box instant chocolate pudding
Mix everything together then add:
1 package chocolate chips
Bake at 350 in a well greased bundt pan 50 minutes to 1 hour. Cool 20 minutes and turn out of pan.
Y’all check out Hadley’s Daddy’s wellness business in the north Dallas area!
This is a very easy cake to make in a hurry that is still very delicious and worthy of a family gathering. The basic recipe has been around forever and used in our household over and over.
It’s one of those basic recipes that is super simple to change out the flavors with different flavors of gelatin and fruit. Try peach, raspberry, apricot, blackberry or cherry! Use orange juice concentrate in place of puréed fruit for a very refreshing cake. All very flavors good!
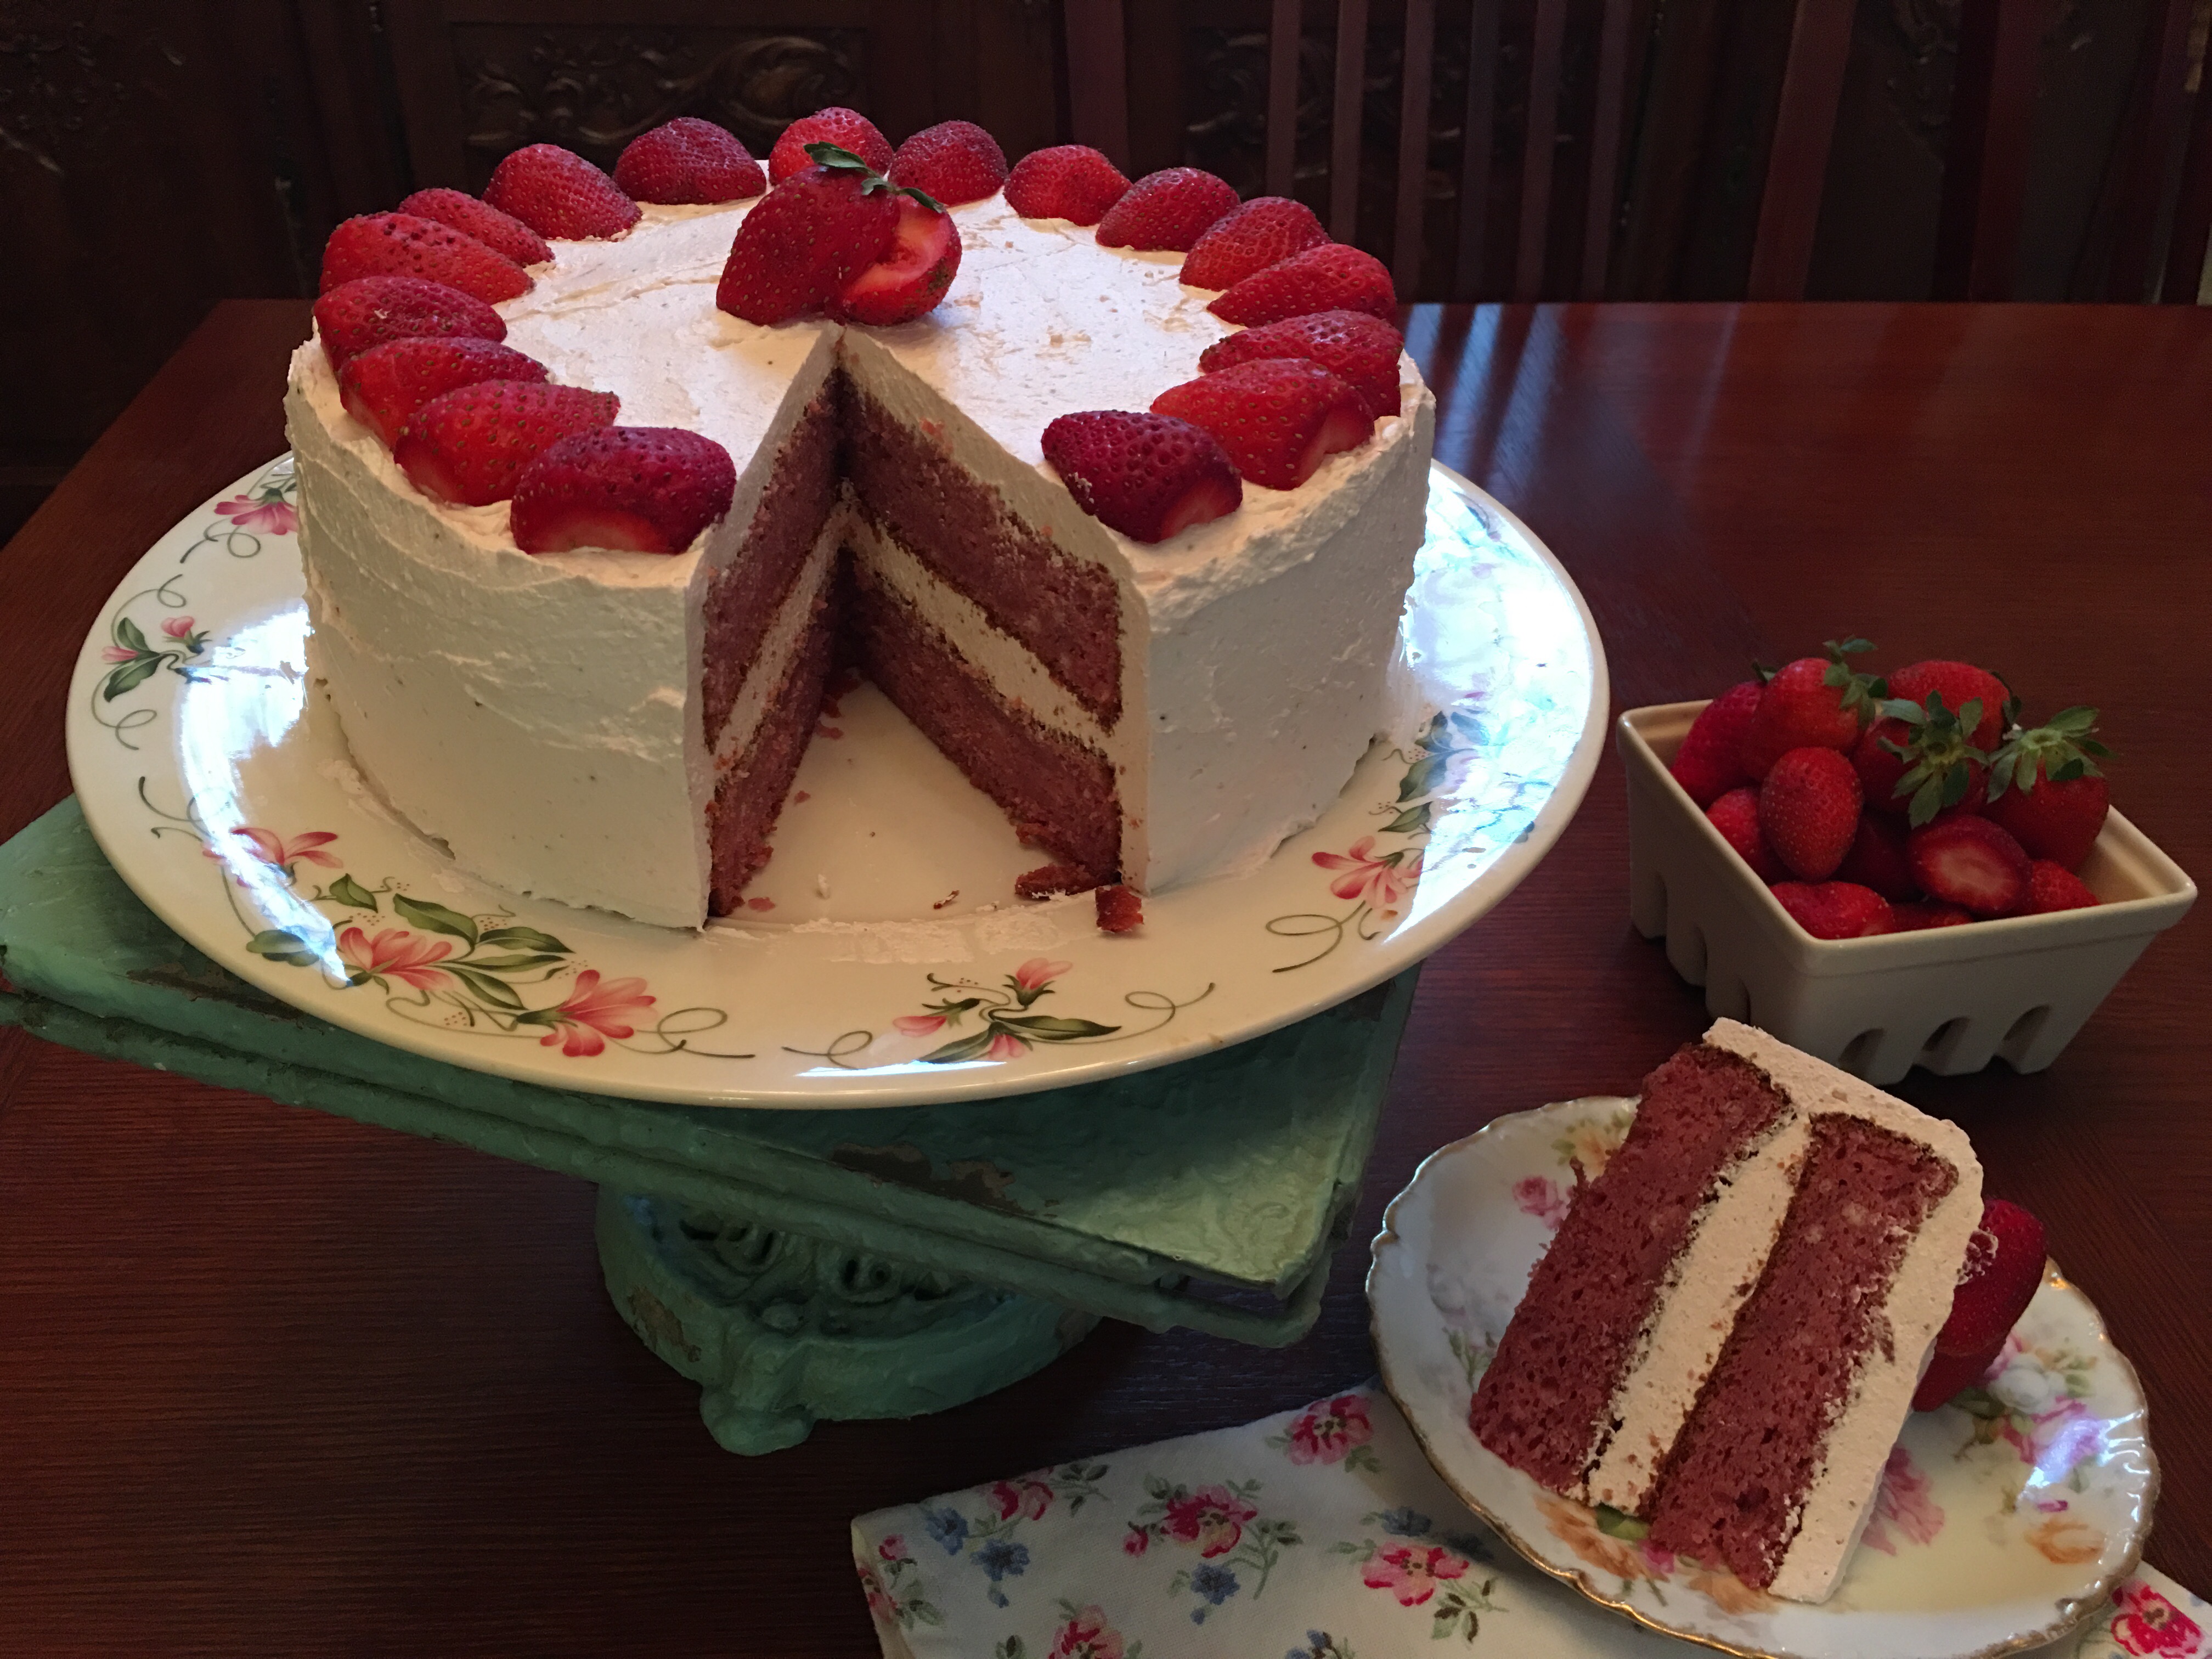
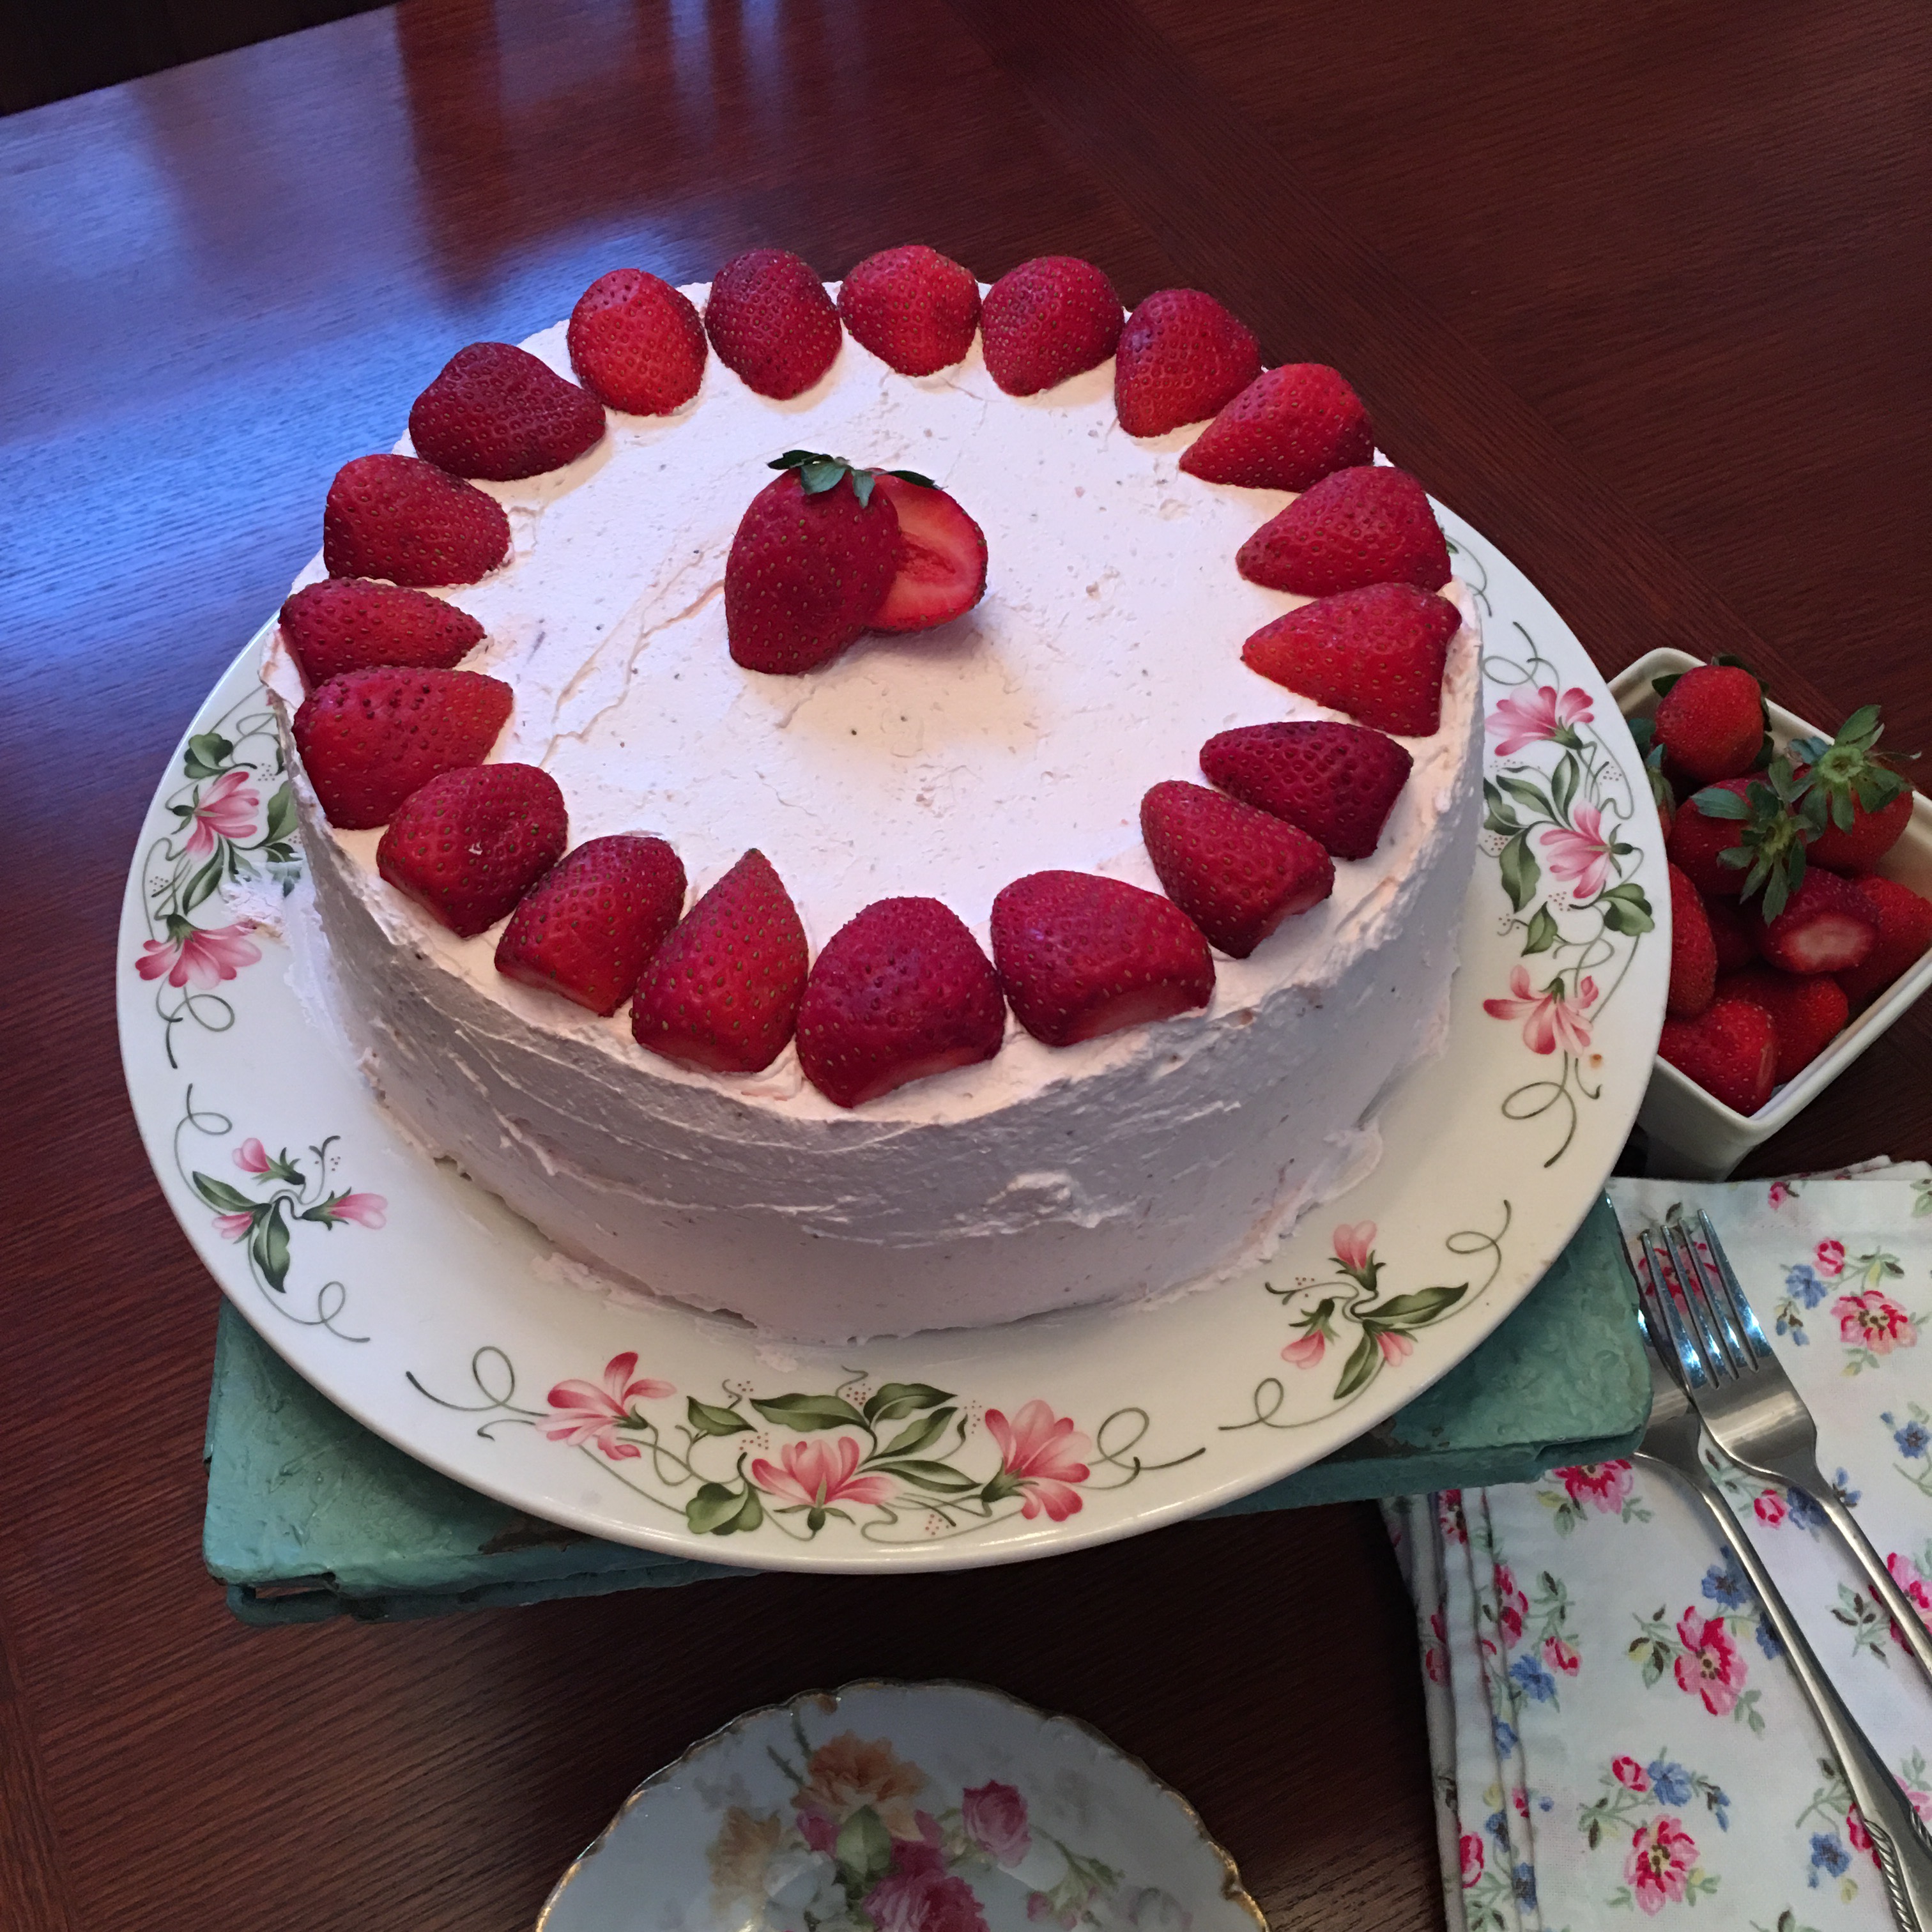
Strawberry buttercream frosting is really yummy on this cake, but this time I decided to use a refreshing Cool Whip strawberry frosting to lighten it up. By the way… The Cool Whip flavored this way is great in a trifle or just spooned into perfect cups with fresh fruit.
Be sure to share how you used these recipes!! We’d love to see your cakes and deserts!
Here’s a beginning bakers guide to preparing your cake pans.
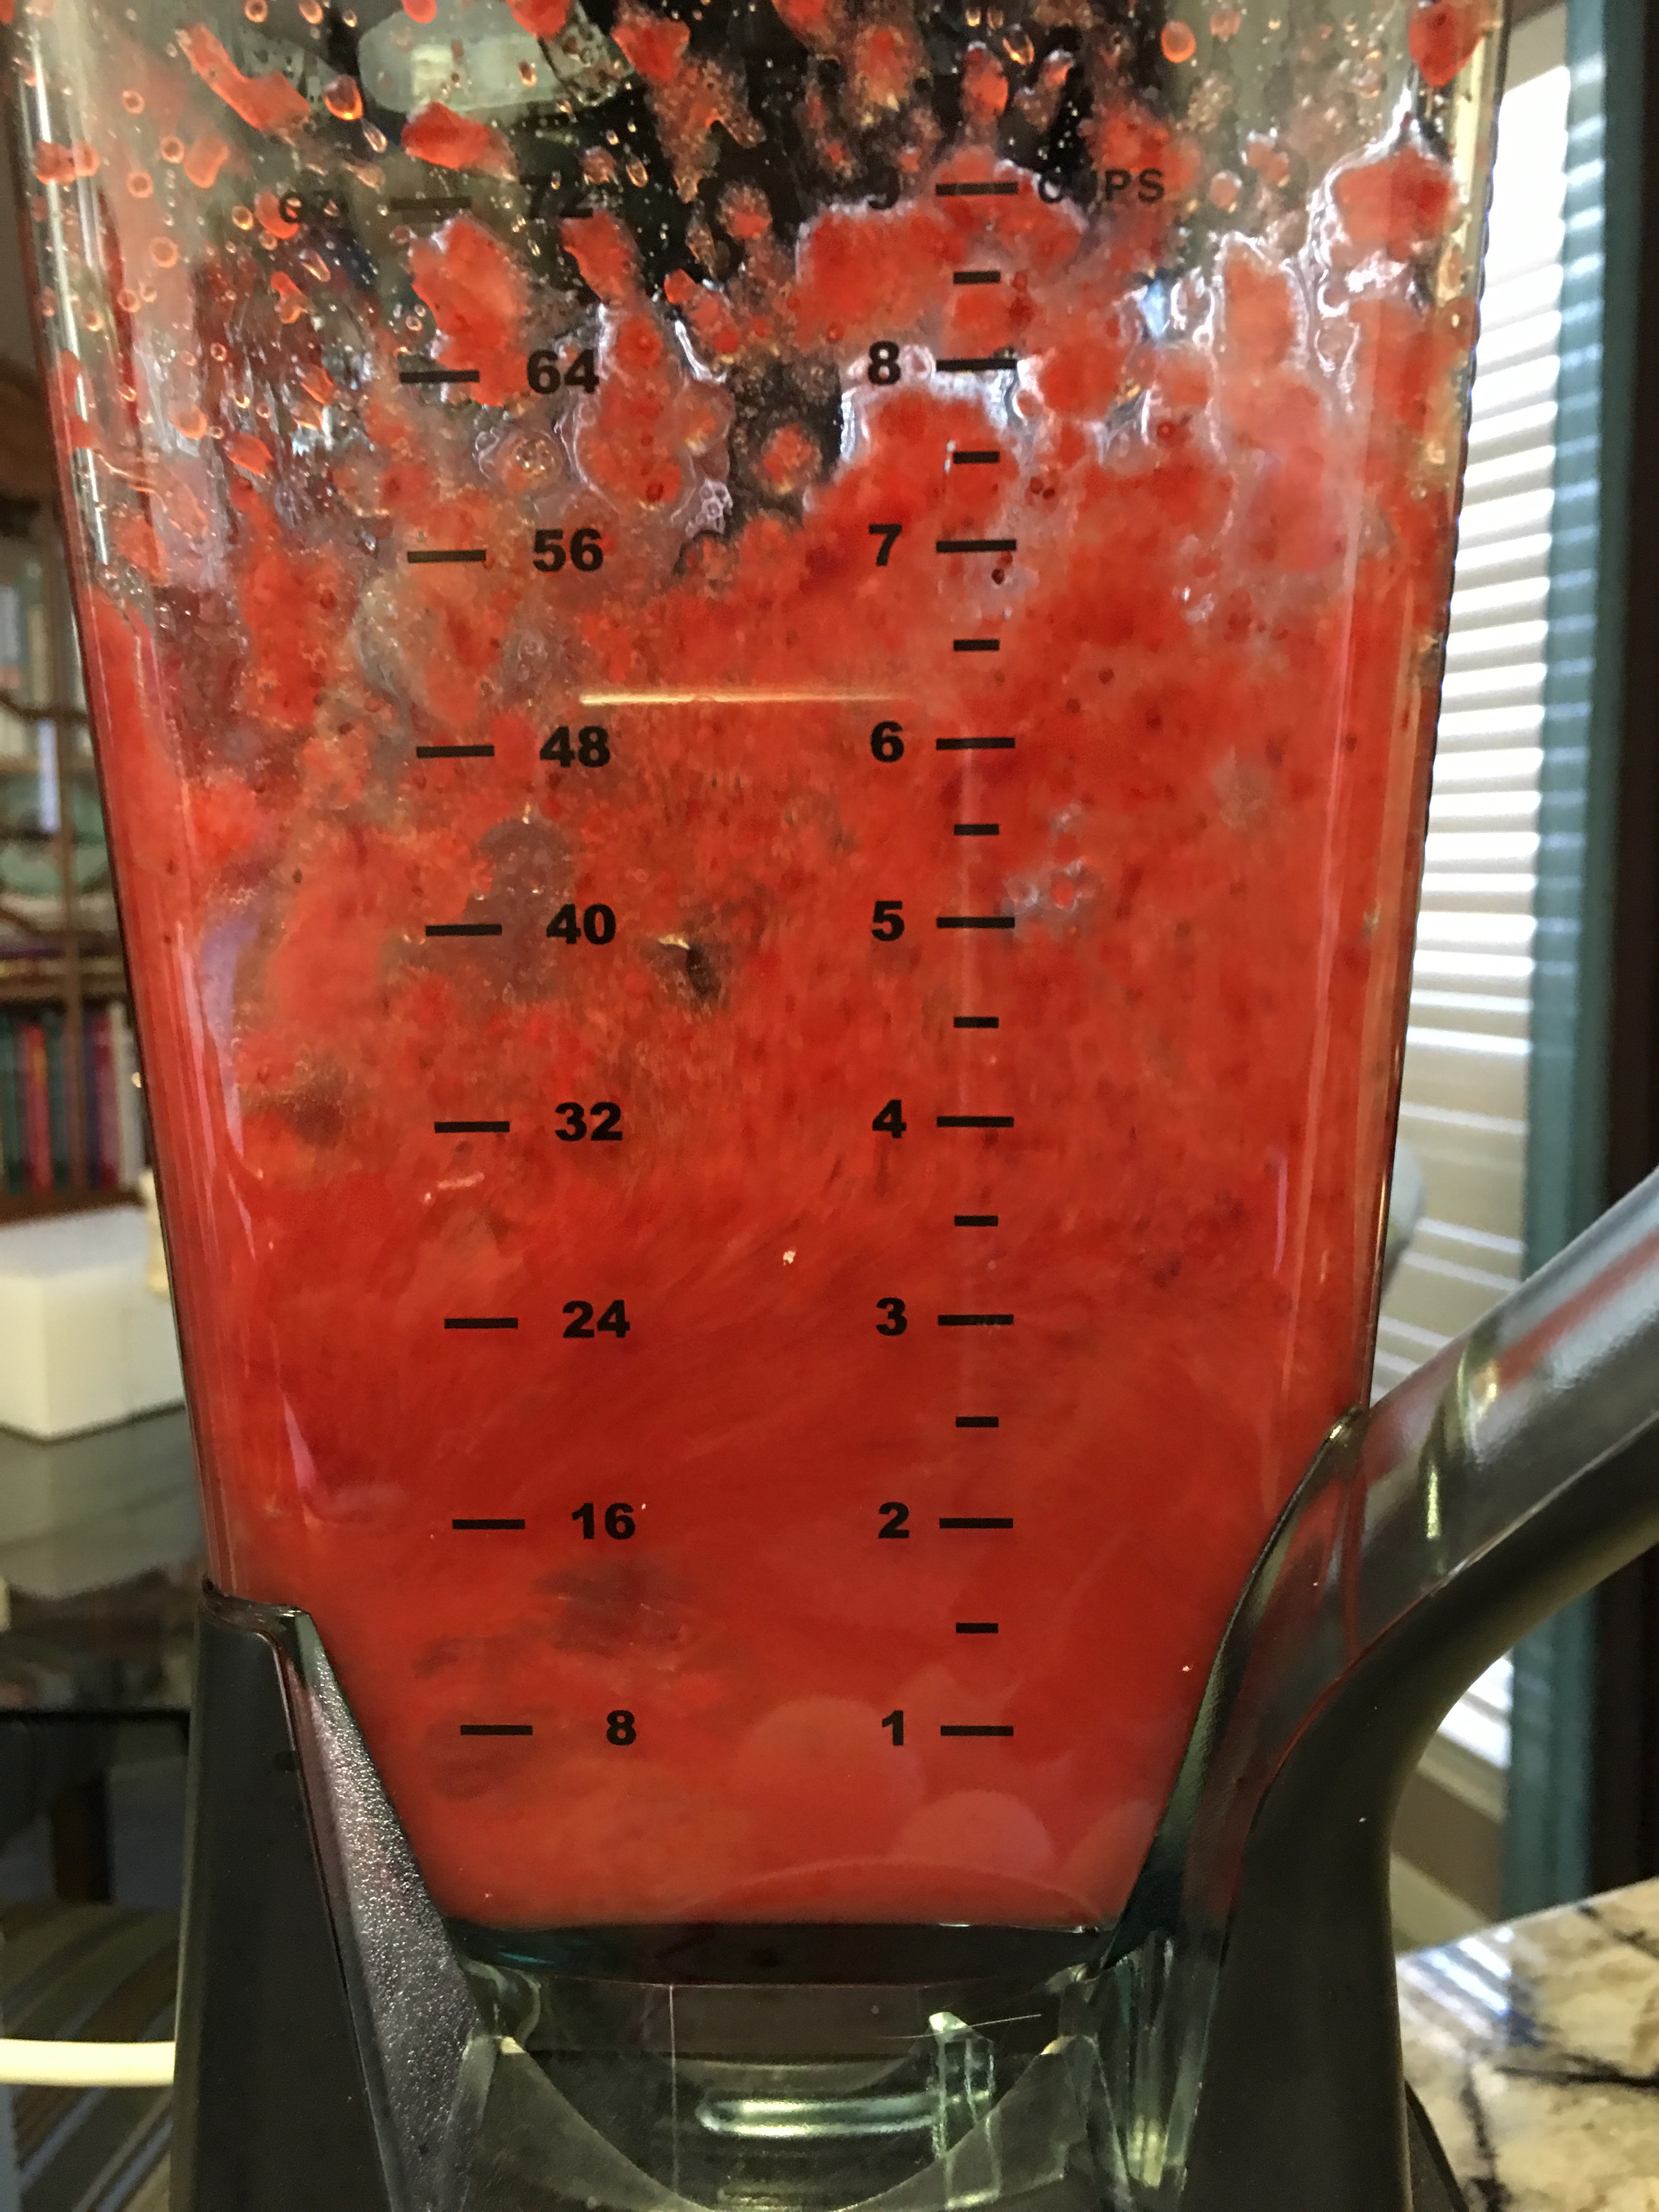
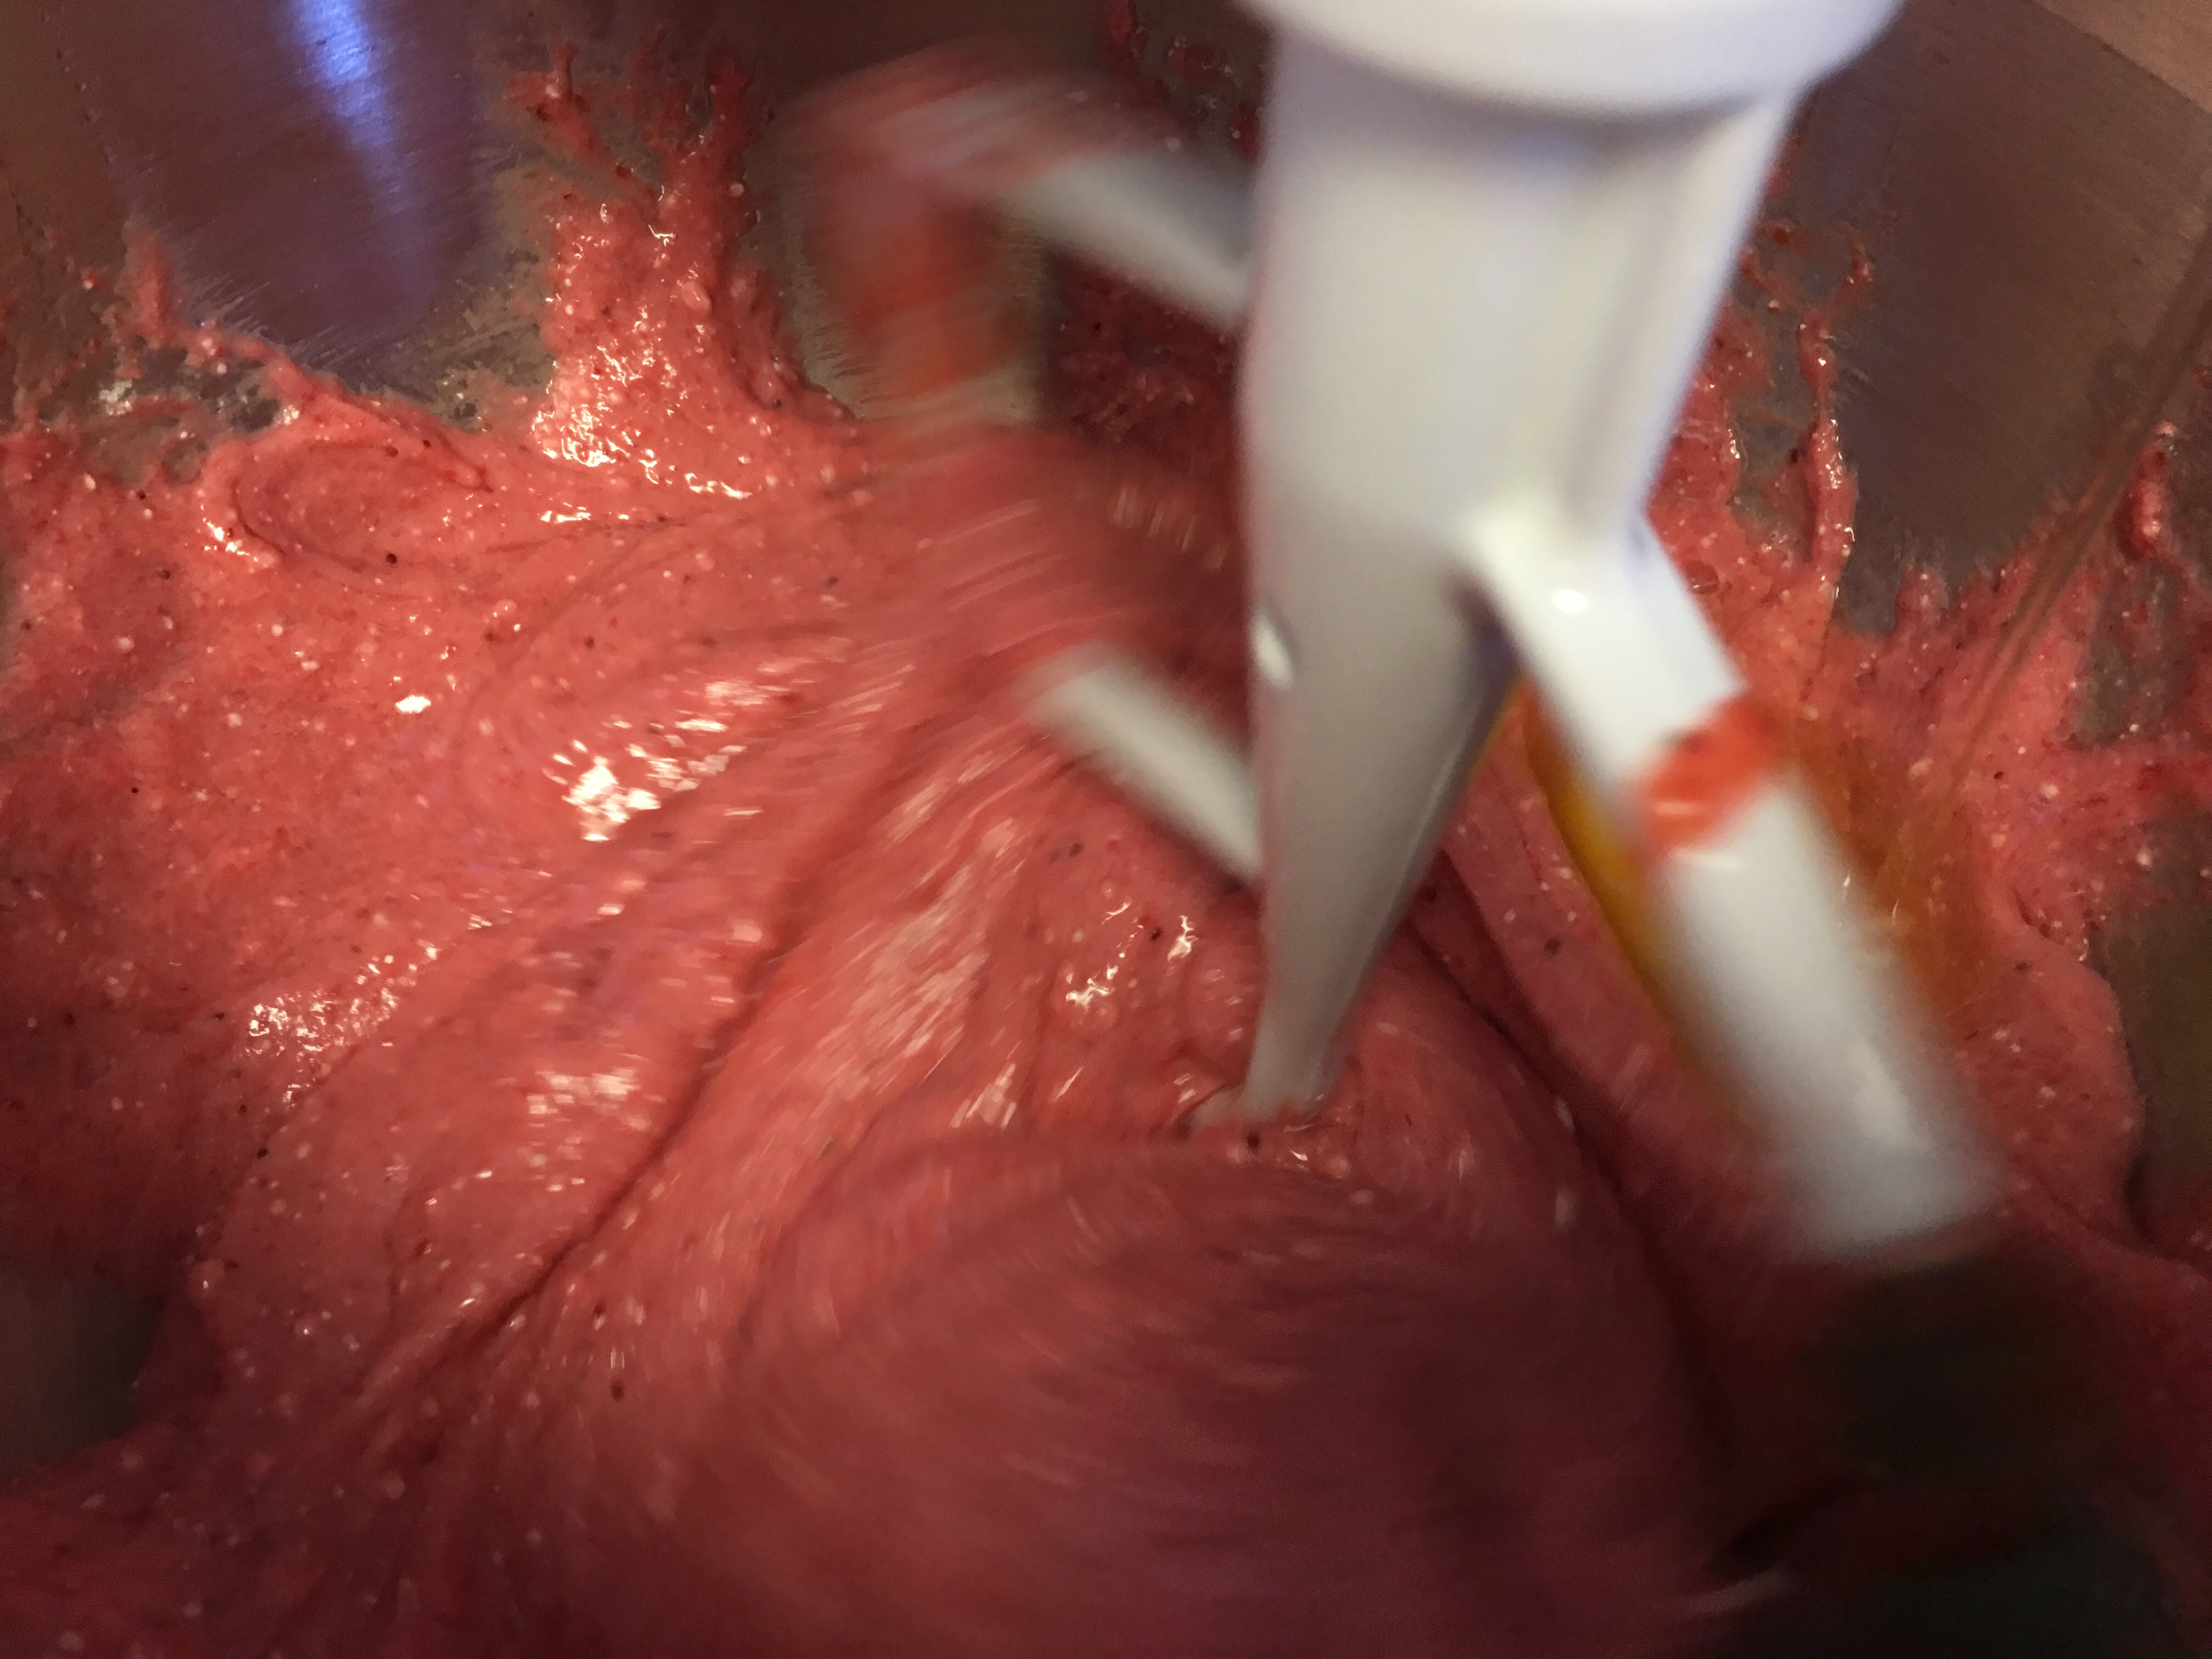
Purée frozen strawberries to be added to cake batter.
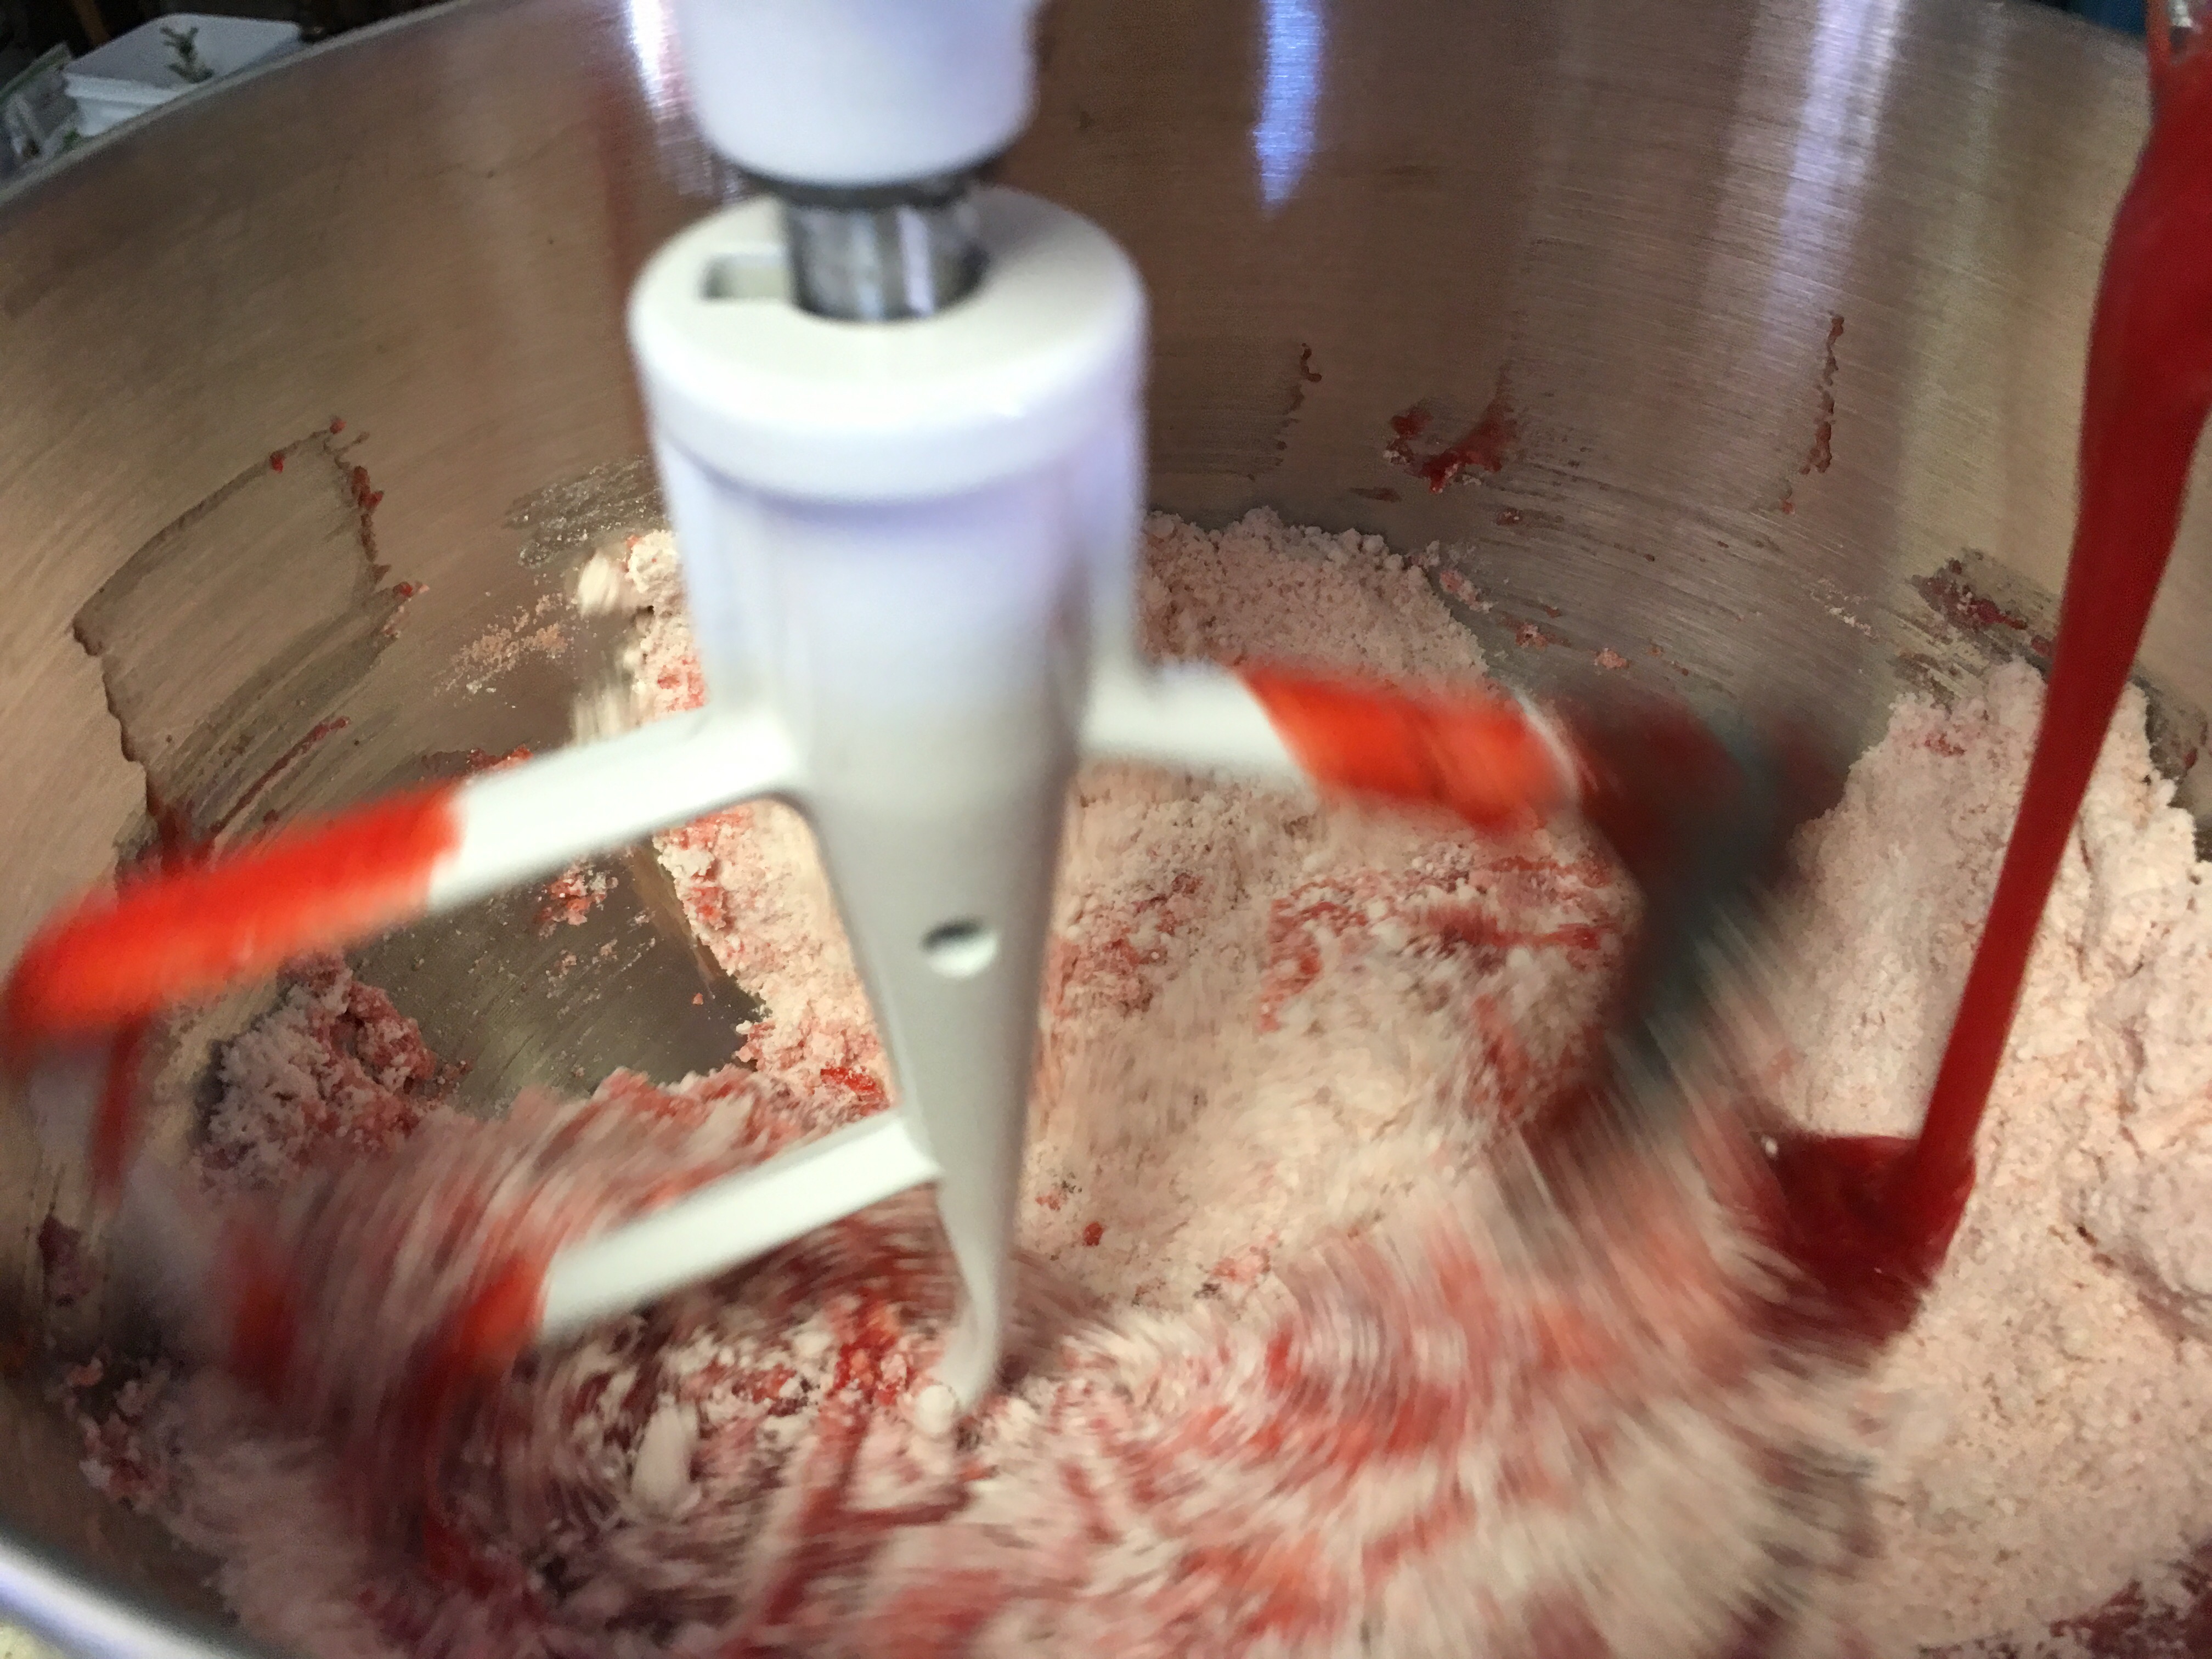
Slowly pour purée into the batter.
Mix well.
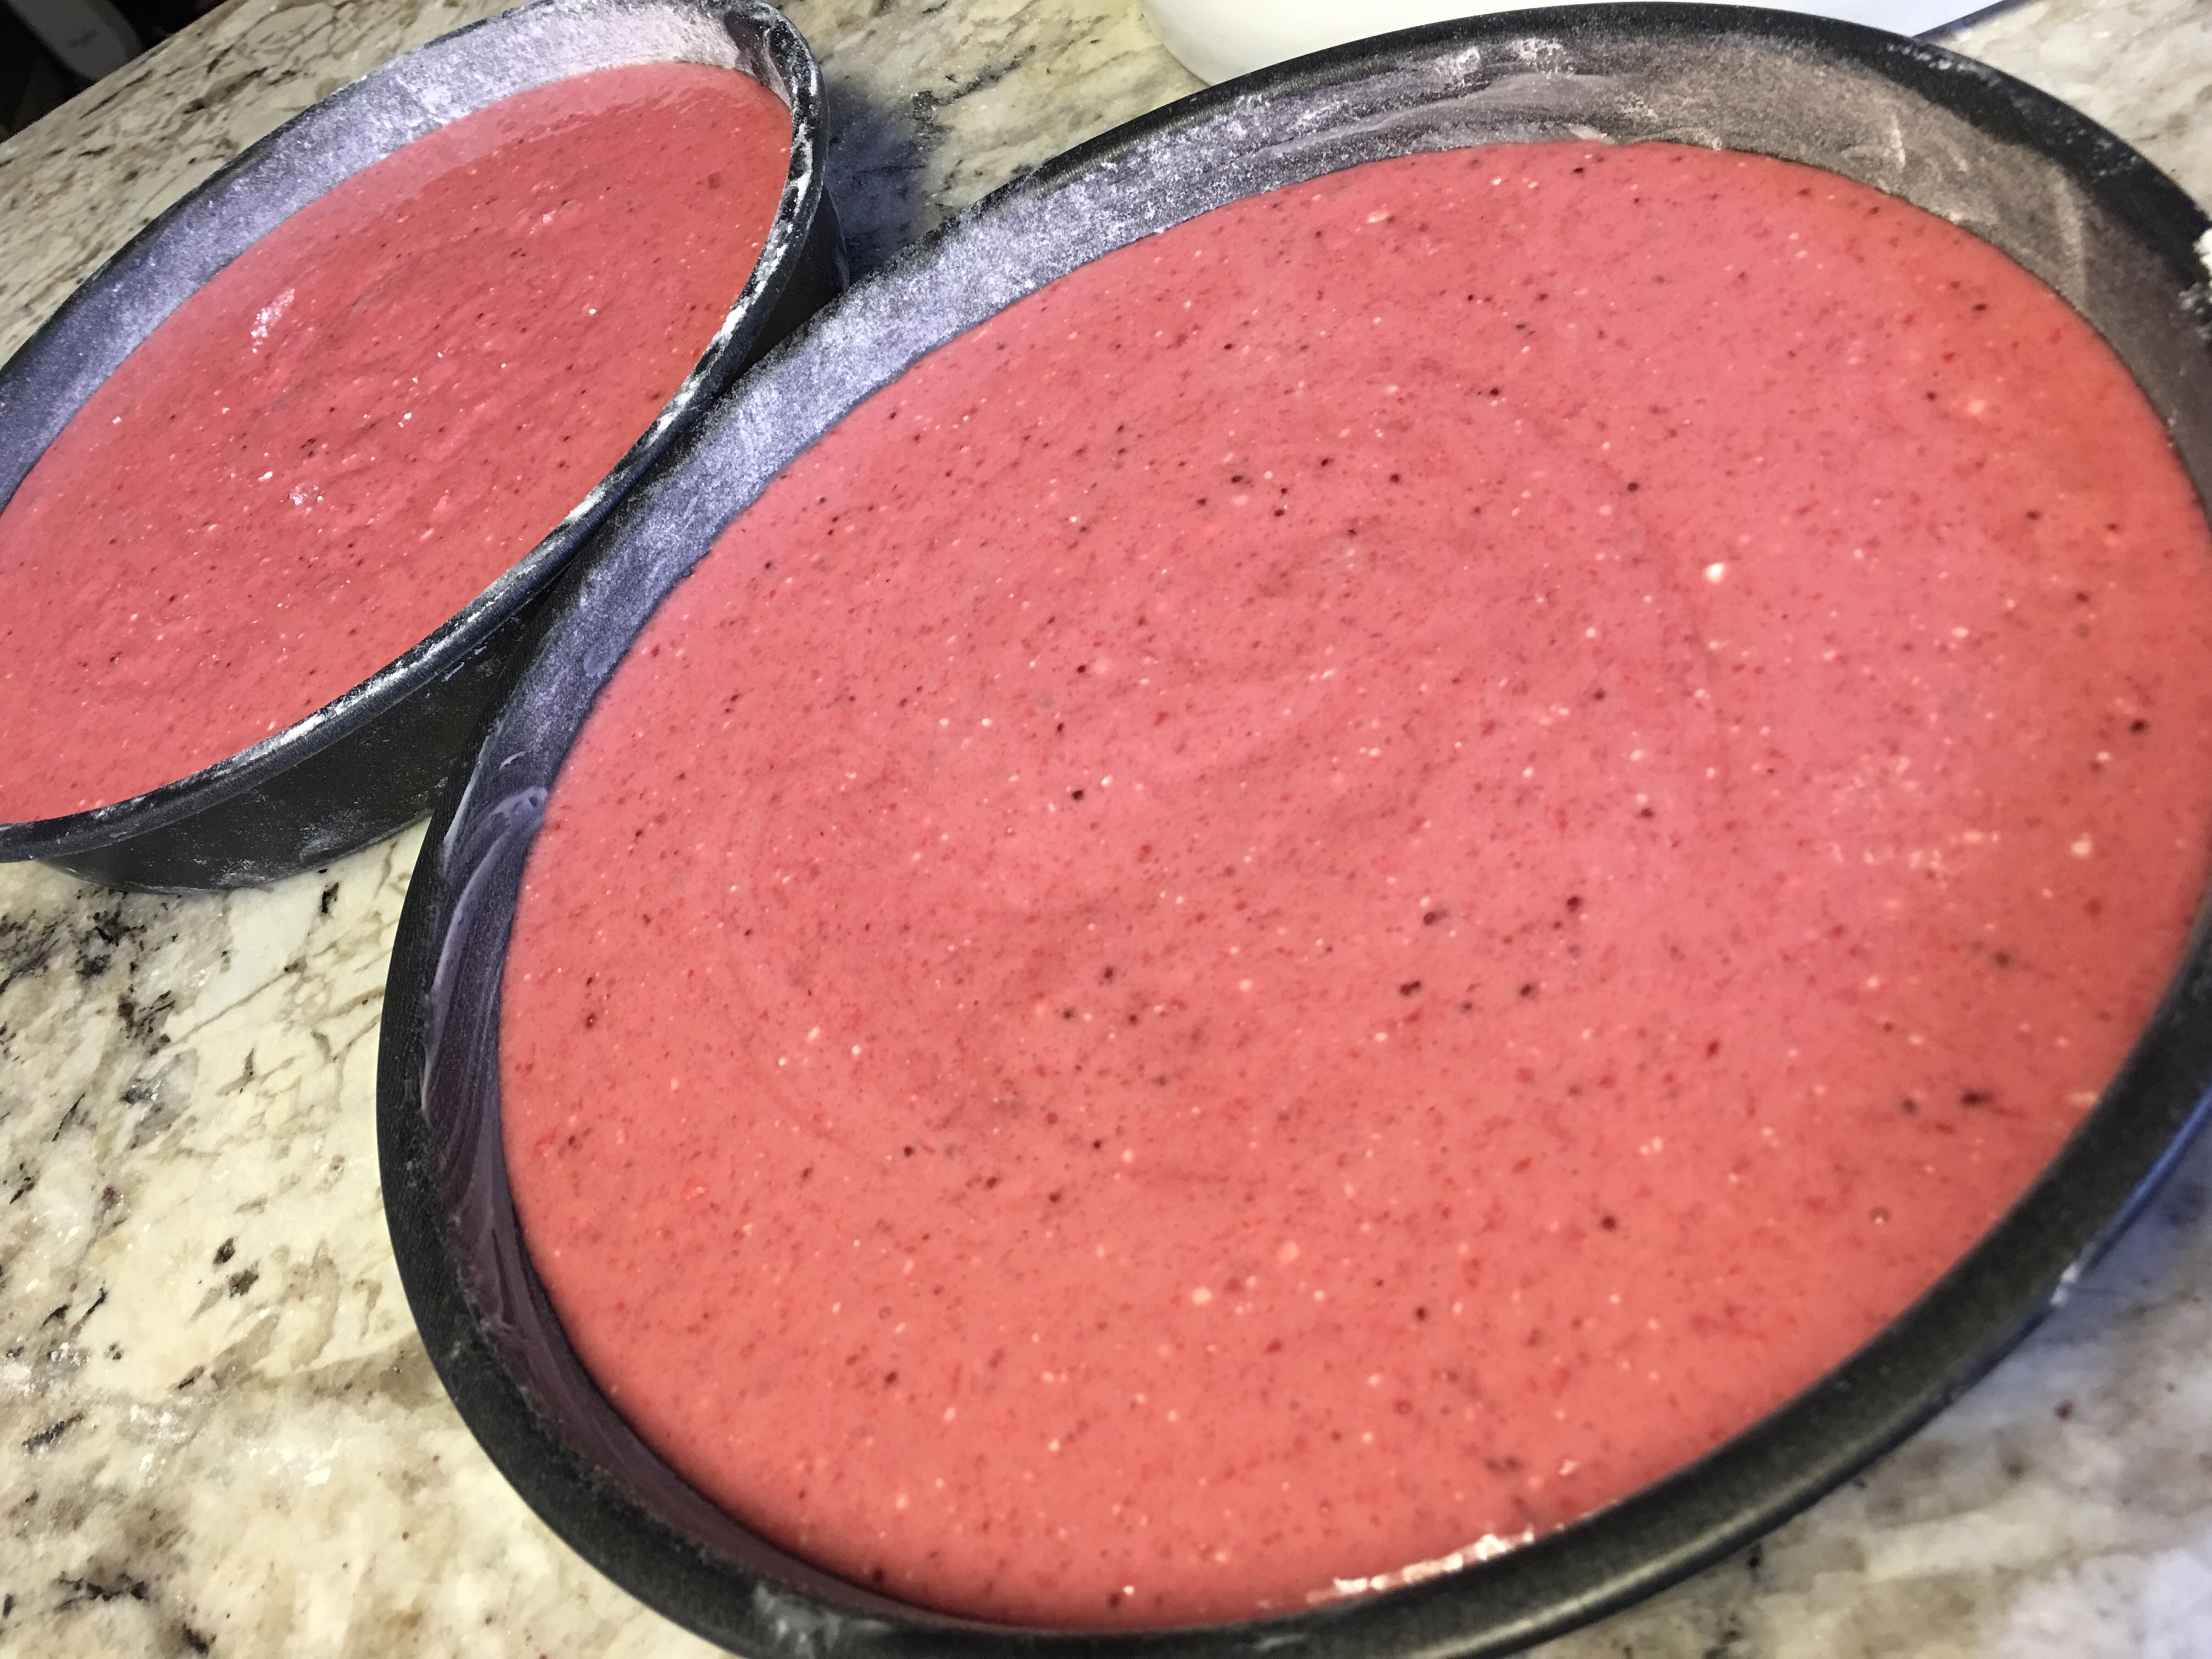
Separate cake batter evenly in two cake pans that have been lightly greased and floured.
This is a dense, moist cake that will need to be checked often for doneness.
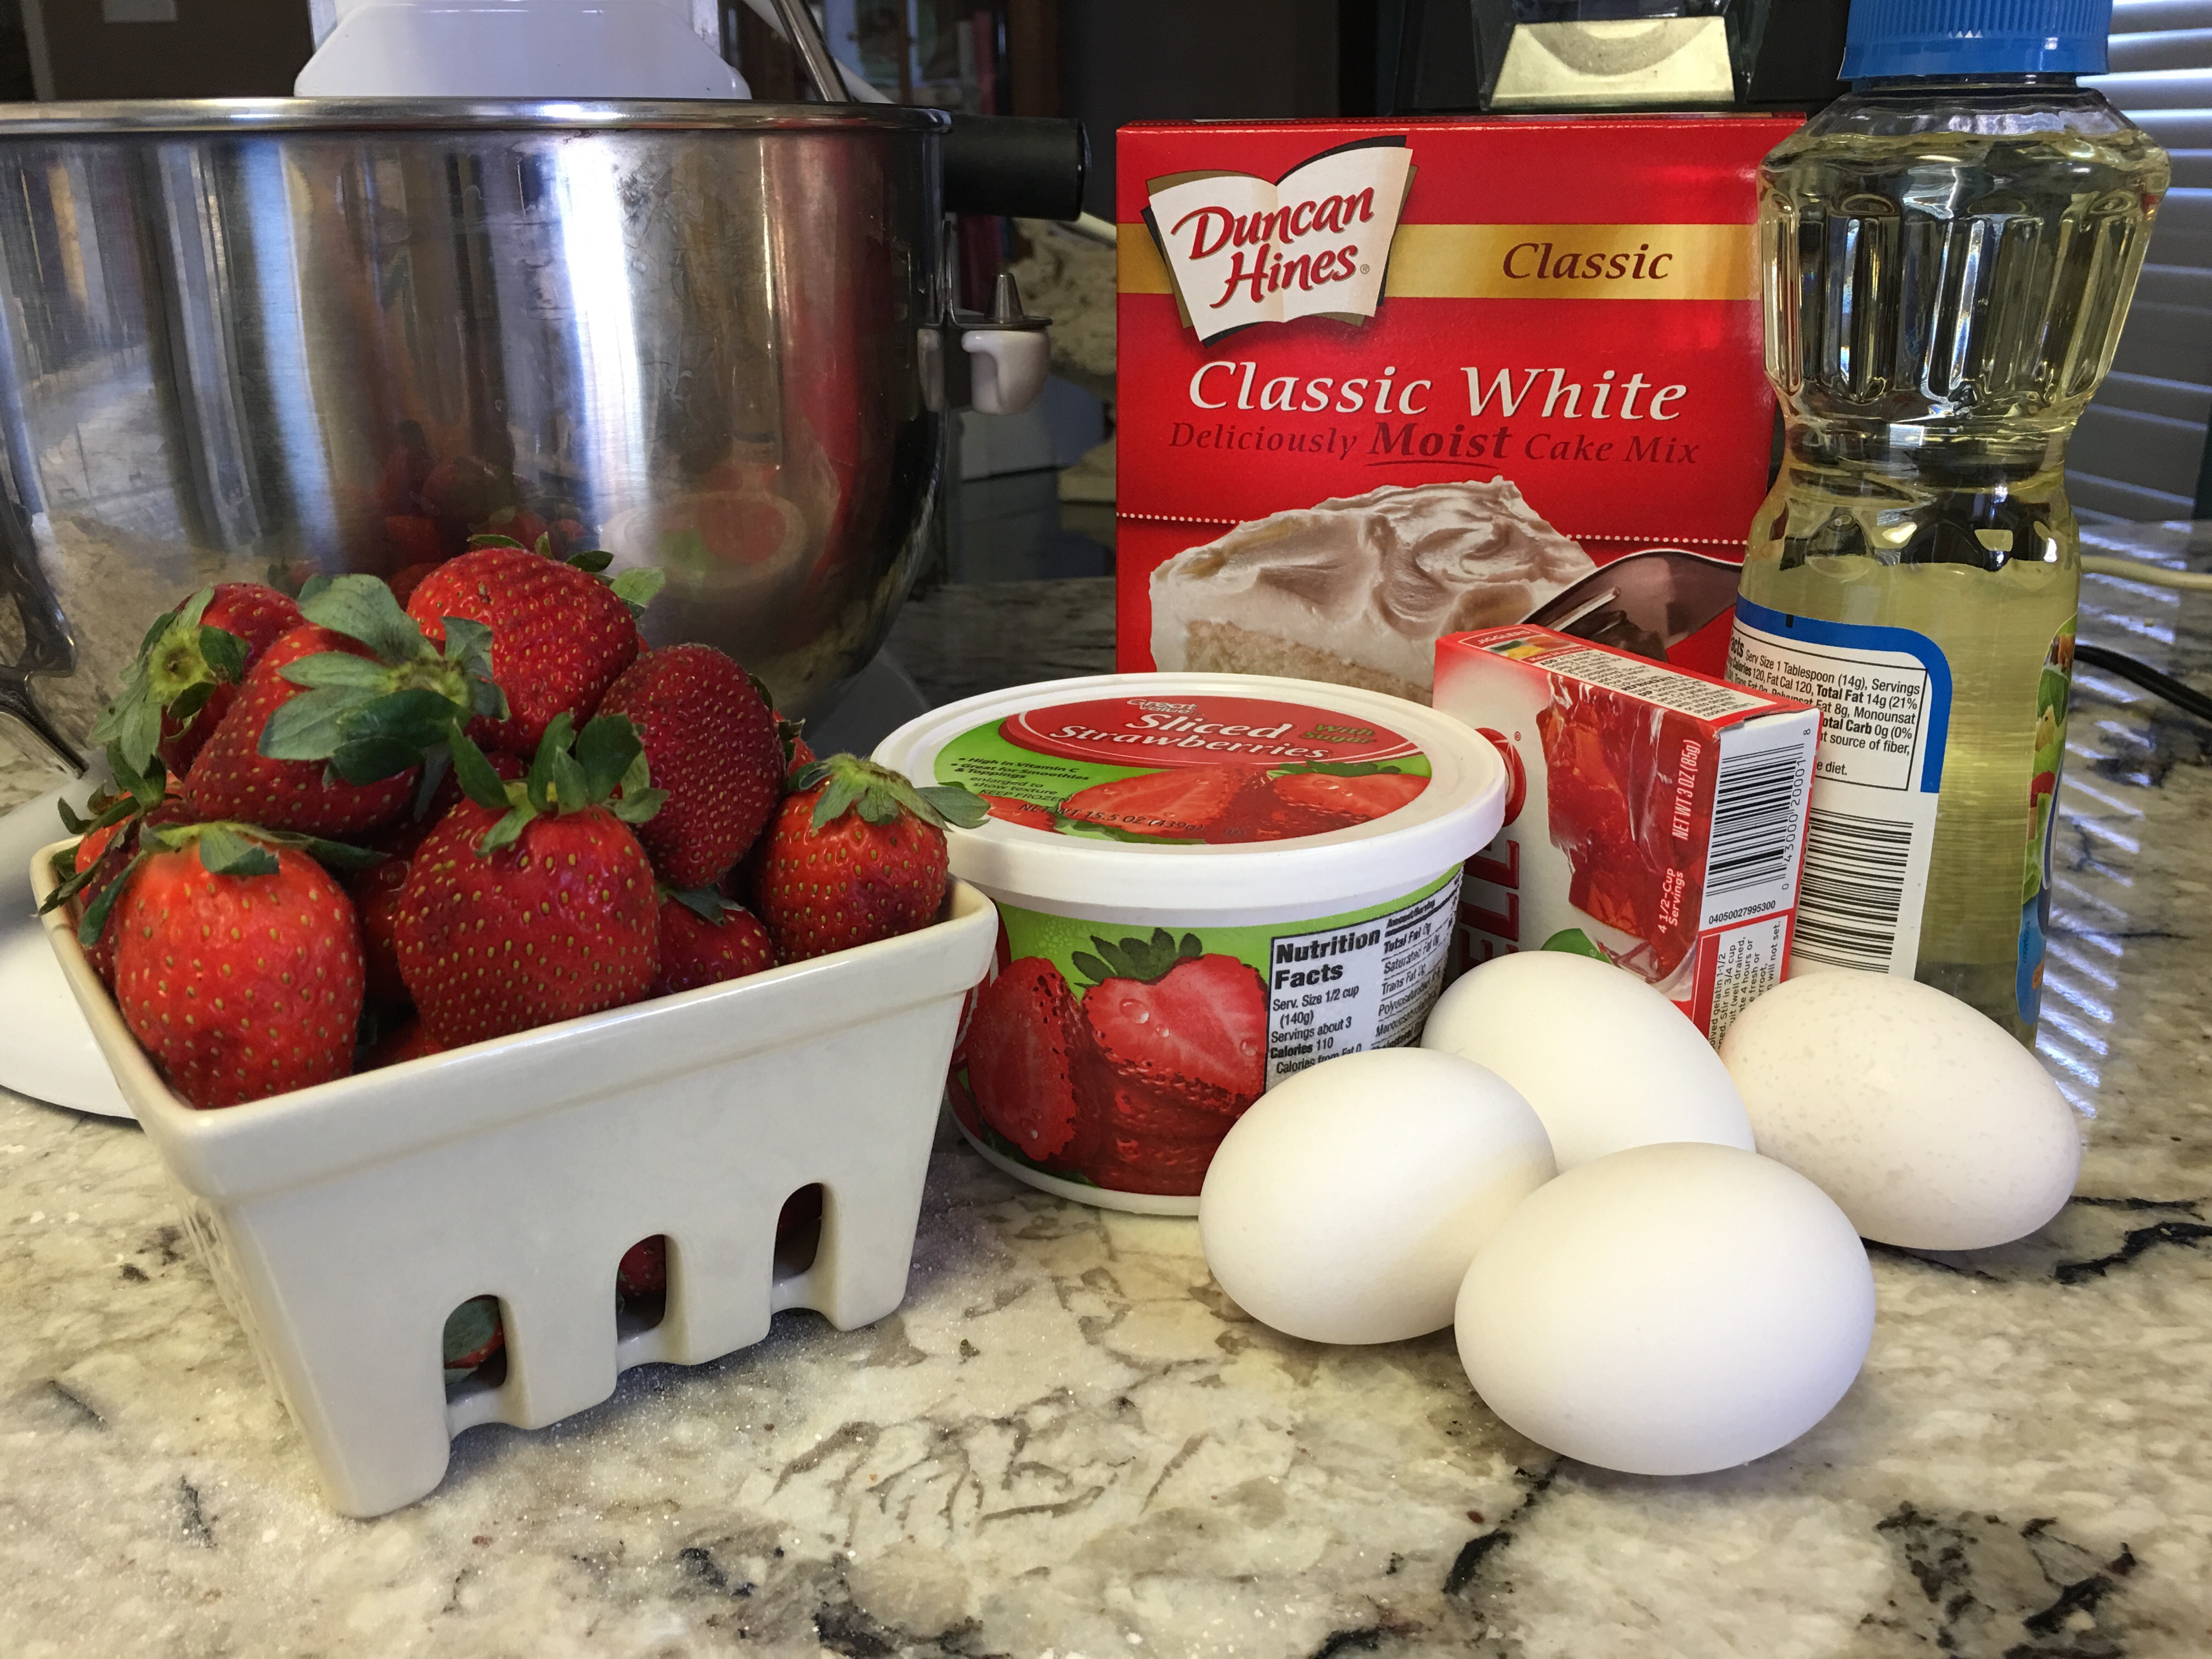
Simple Strawberry Cake
1 box of white cake mix
1 box of strawberry gelatin (3 oz instant)
1/2 cup vegetable oil
1/4 cup water
4 eggs
1 package frozen strawberries in syrup (around 15 oz)
Preheat oven to 325 degrees. Prepare two cake pans by lightly greasing and flouring them.
Purée strawberries in a blender or food processor. Or, just mash them with a fork. It will still be good!
Combine cake mix and gelatin in a large mixing bowl. Add oil, water, eggs and puréed strawberries. Mix at medium speed of an electric mixer until smooth. Pour evenly into prepared pans. Bake 35 minutes or until a wooden toothpick comes out clean. (Ovens vary, so check early and often) Let pans cool 10 minutes before inverting them on a wire rack to cool completely before frosting. For the quick, light frosting...
Purée fresh strawberries and add to Cool Whip in a medium mixing bowl.
Wisk the strawberries into the Cool Whip until smooth.
Strawberry Cool Whip Frosting
1 (16 oz) container Cool Whip
2/3 pint fresh strawberries (more for decoration if you’d like)
1 teaspoon sugar
Spoon Cool Whip into a medium mixing bowl.
In a blender (or magic bullet) purée the 2/3 pint fresh strawberries and sugar until smooth. Pour into cool whip and whip with a white wisk until completely blended. Frost cake with this mixture when completely cool. Decorate with fresh strawberries, if desired. Store cake in the refrigerator.
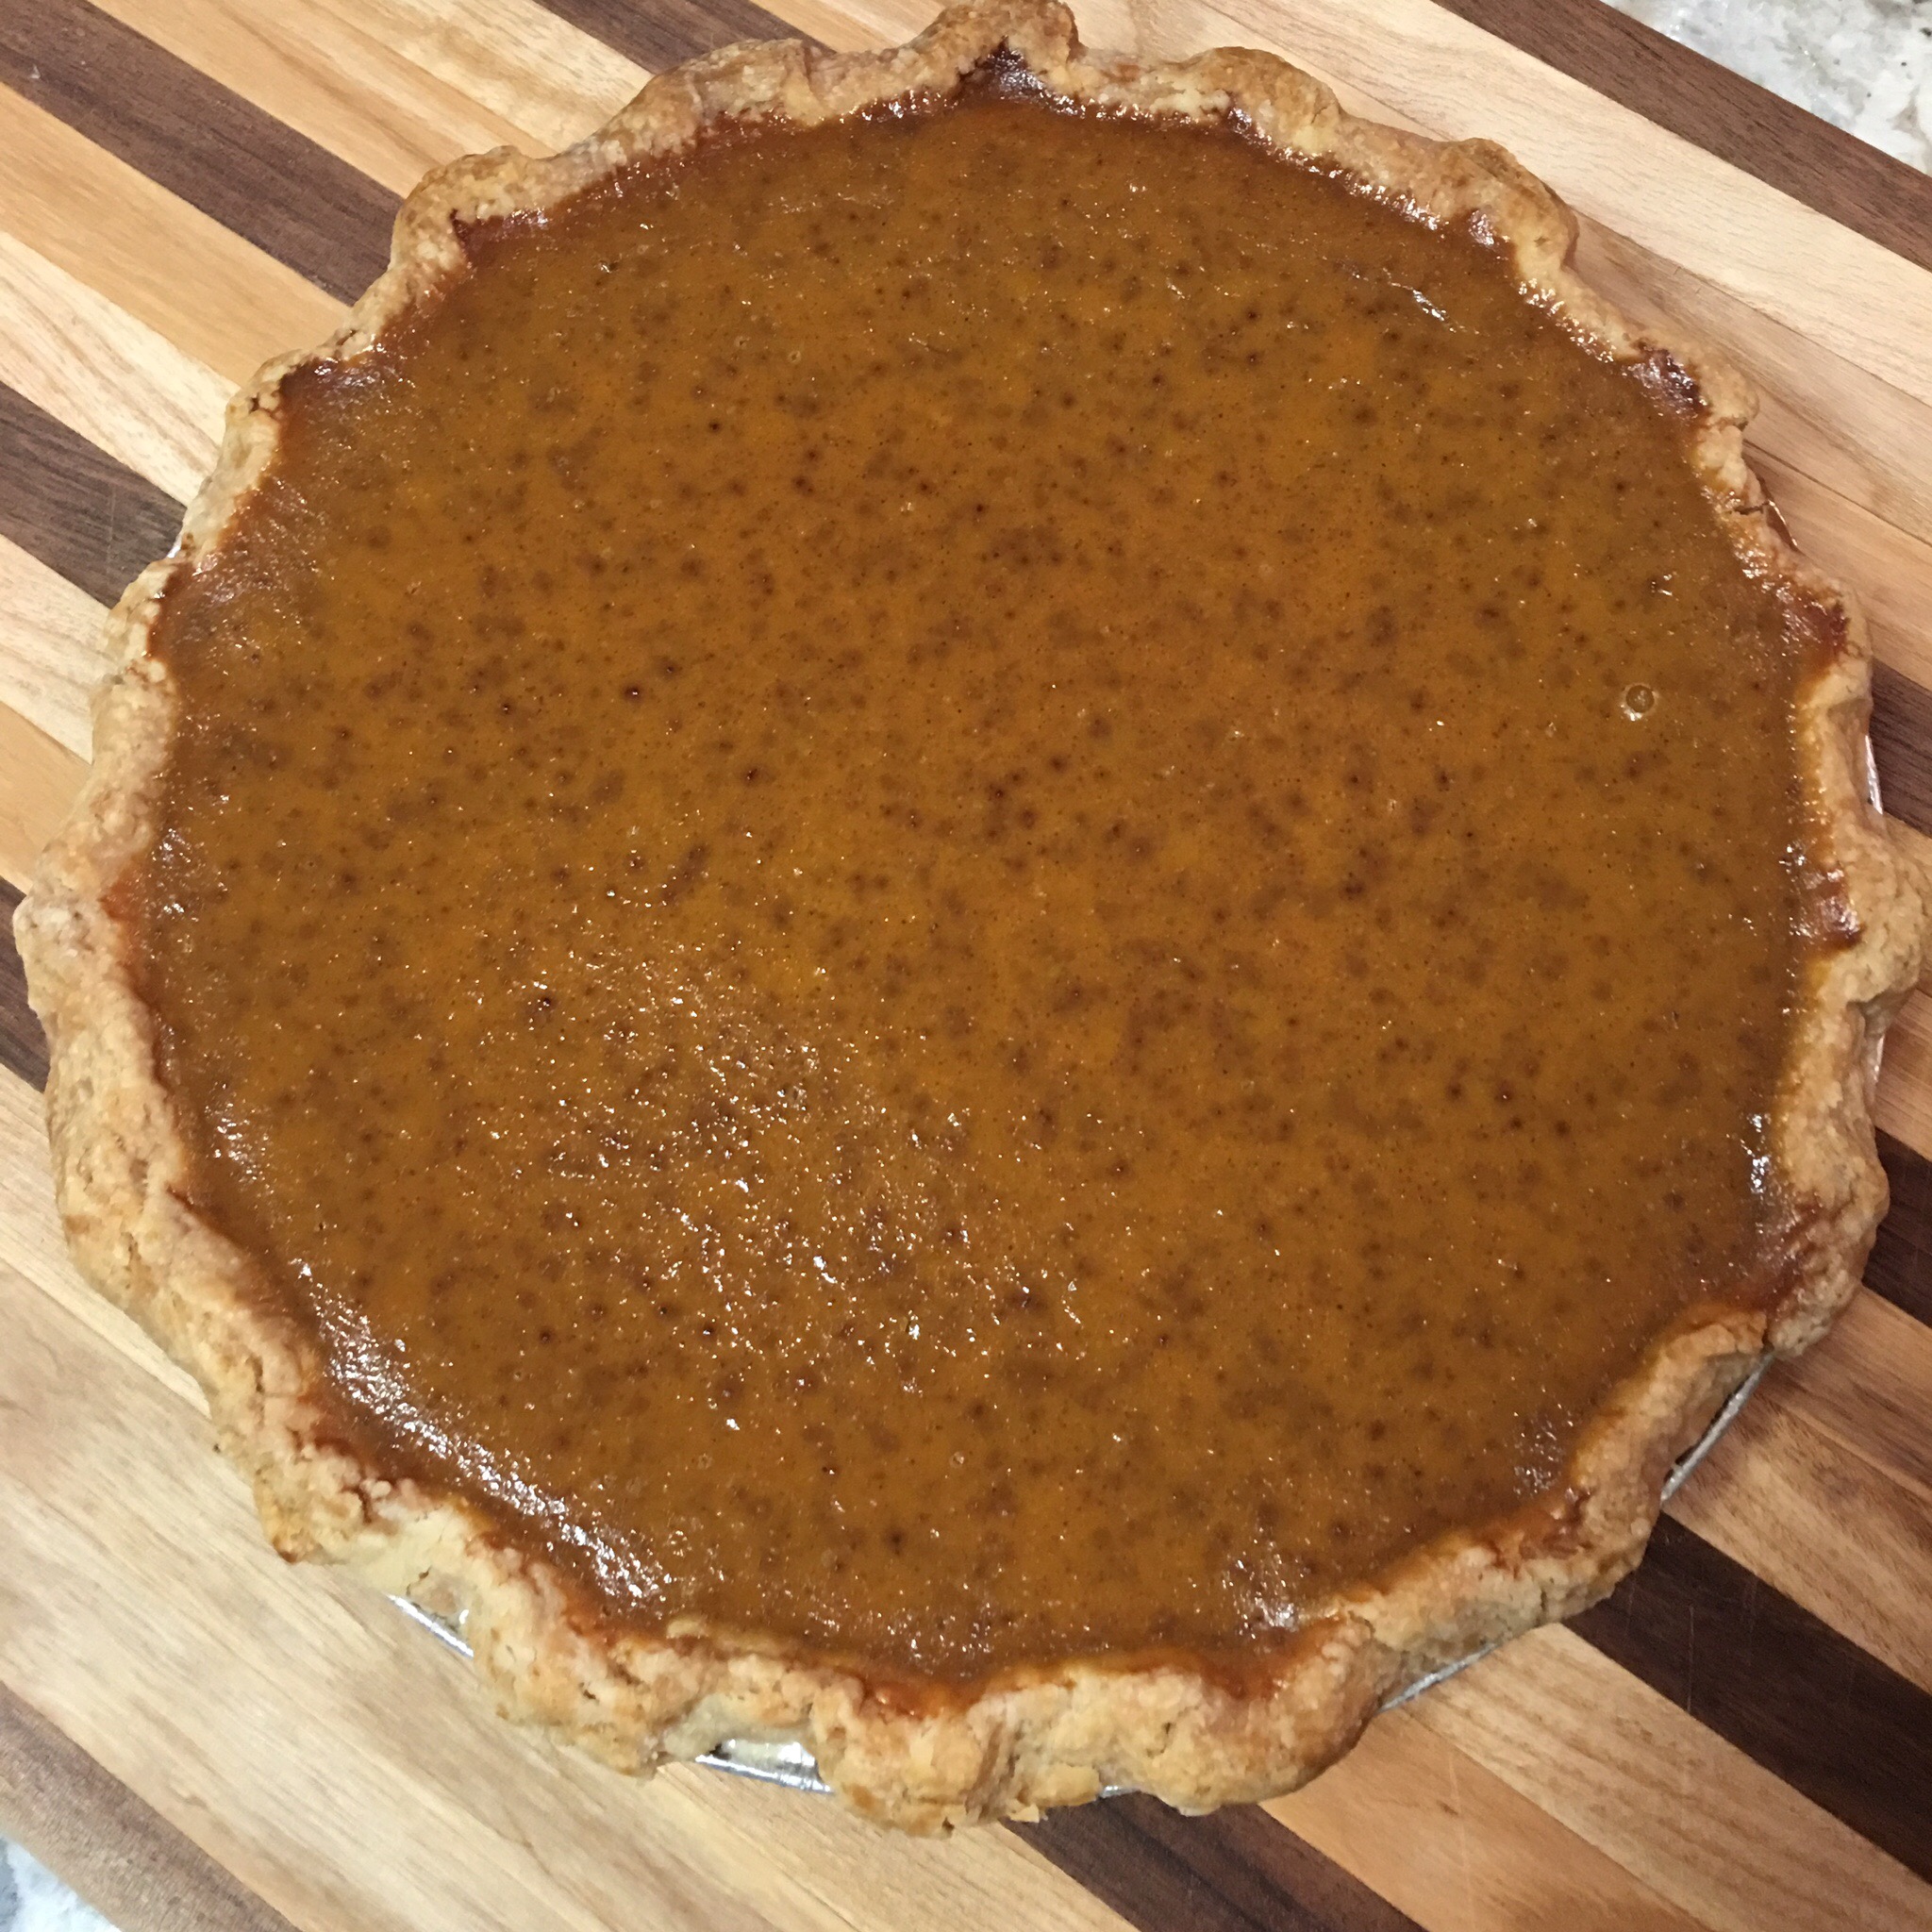
There’s just nothing better than Classic Pumpkin Pie
As the temperature drops, fall means pie to me. Pumpkin pie in particular! I’ll admit, it’s one of my weaknesses. It’s a vegetable, after all! Right?
Our forefathers may not have had this classic at the first Thanksgiving, but I don’t know many tables that it does not grace now a days!
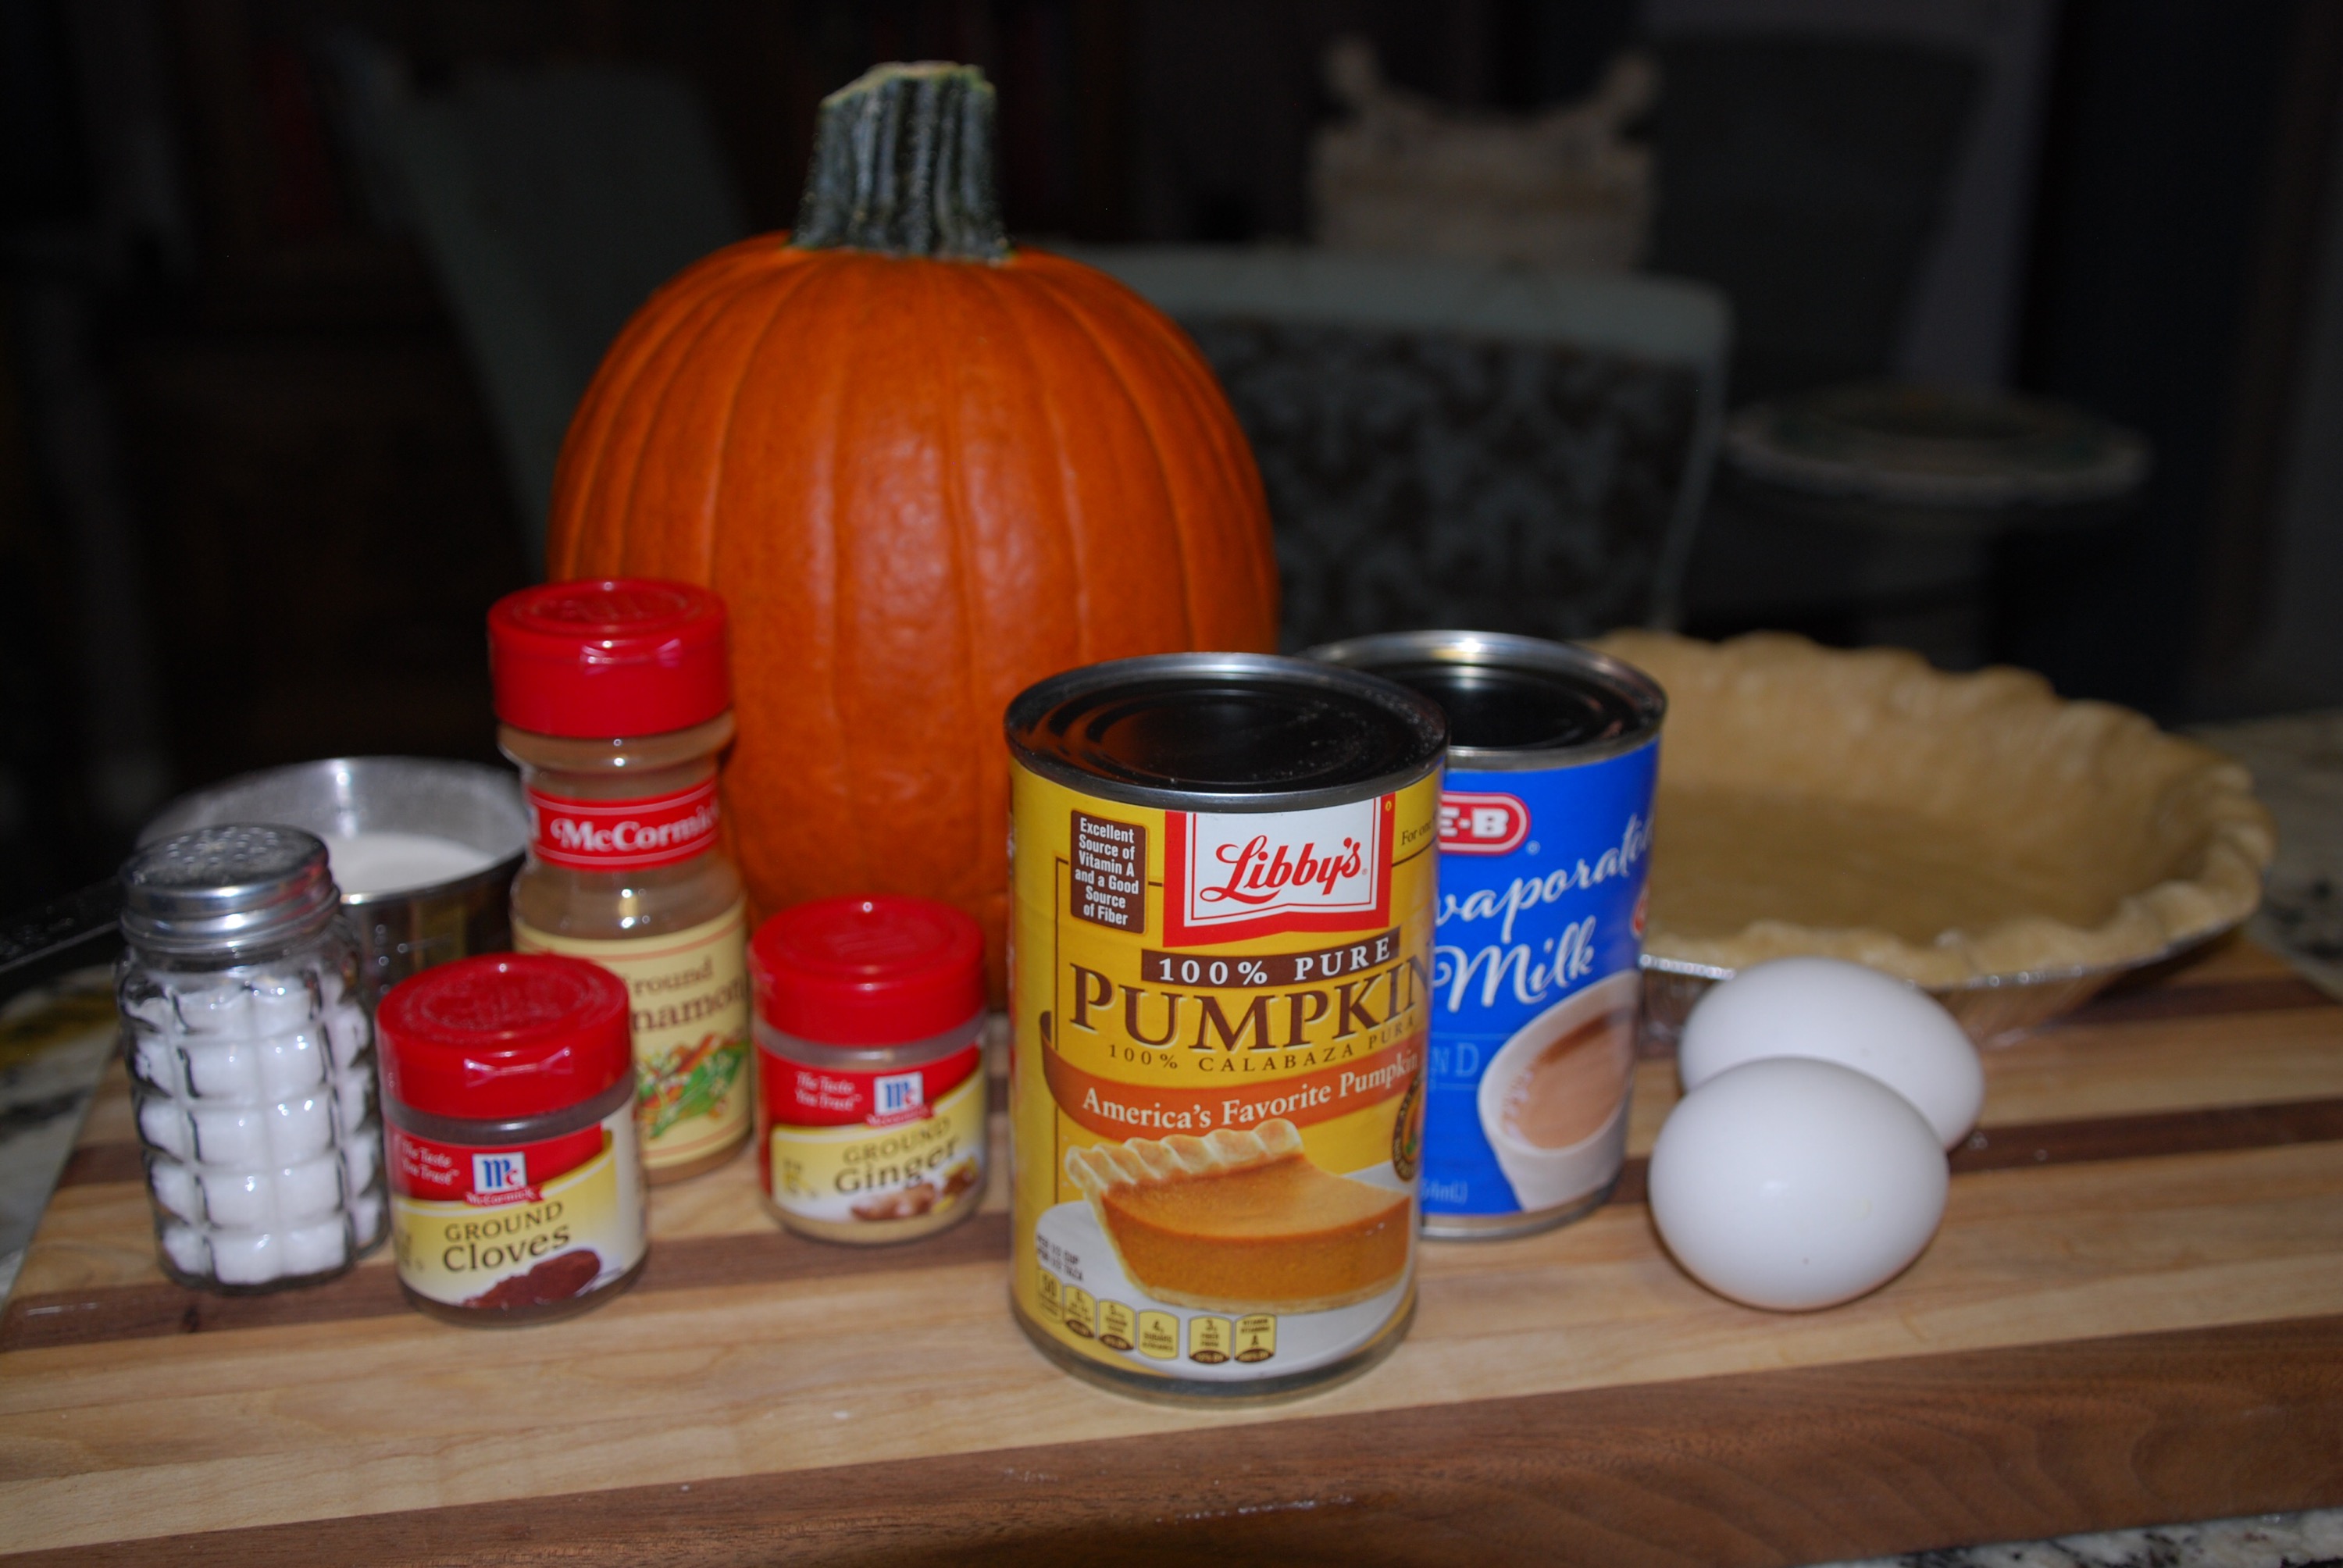
This recipe is adapted from the back of every can Libby’s 100% pure pumpkin. It’s the best I’ve ever eaten. There’s no reason to mess with a classic.
By the way, I only use Libby’s. Did you know that most other brands aren’t even real pumpkin? They are actually another type of squash. Check the label to be sure before you buy that store brand to be sure.
I’m sharing the easy pie crust recipe my Grandmother Duty taught me many years ago. I know, I should have added a few more ‘manys,’ but who’s counting anymore? Not me!
Really, it’s easy to make pie crust from scratch. Give it a try!
Pumpkin Pie
2/3 cup granulated sugar
1/2 teaspoon salt
1 teaspoon ground cinnamon
1/2 teaspoon ground ginger
1/4 teaspoon ground cloves
2 large eggs
1 can (15 oz) Libby’s 100% pure pumpkin
1 can (12 fl. oz) evaporated milk
1 unbaked deep dish pie crust
Heat oven to 425 degrees Fahrenheit.
In a small bowl mix sugar and spices together. Set aside.
In a large bowl, beat eggs until frothy. Add the can of pumpkin and sugar/spice mixture to eggs and stir until well blended. Shake can of evaporated vigorously before opening, then add to pumpkin mixture. Stir until well blended and smooth.
Pour custard mixture into pie crust.
Place on baking sheet and then into your preheated oven at 450 degrees for 15 minutes. Reduce heat to 350 degrees Fahrenheit and bake an additional 40-50 minutes. Remove from oven and let cool for at least two hours. Serve immediately or refrigerate.
My Grandmother’s Pie Crust
One crust for 9 inch pie
1 cup all purpose flour
1/2 teaspoon salt
1/3 cup shortening
3 tablespoons cold water
Sift flour and salt together. (I just use a wire whisk to blend and fluff the flour. The air mixed into the flour makes a lighter crust.)
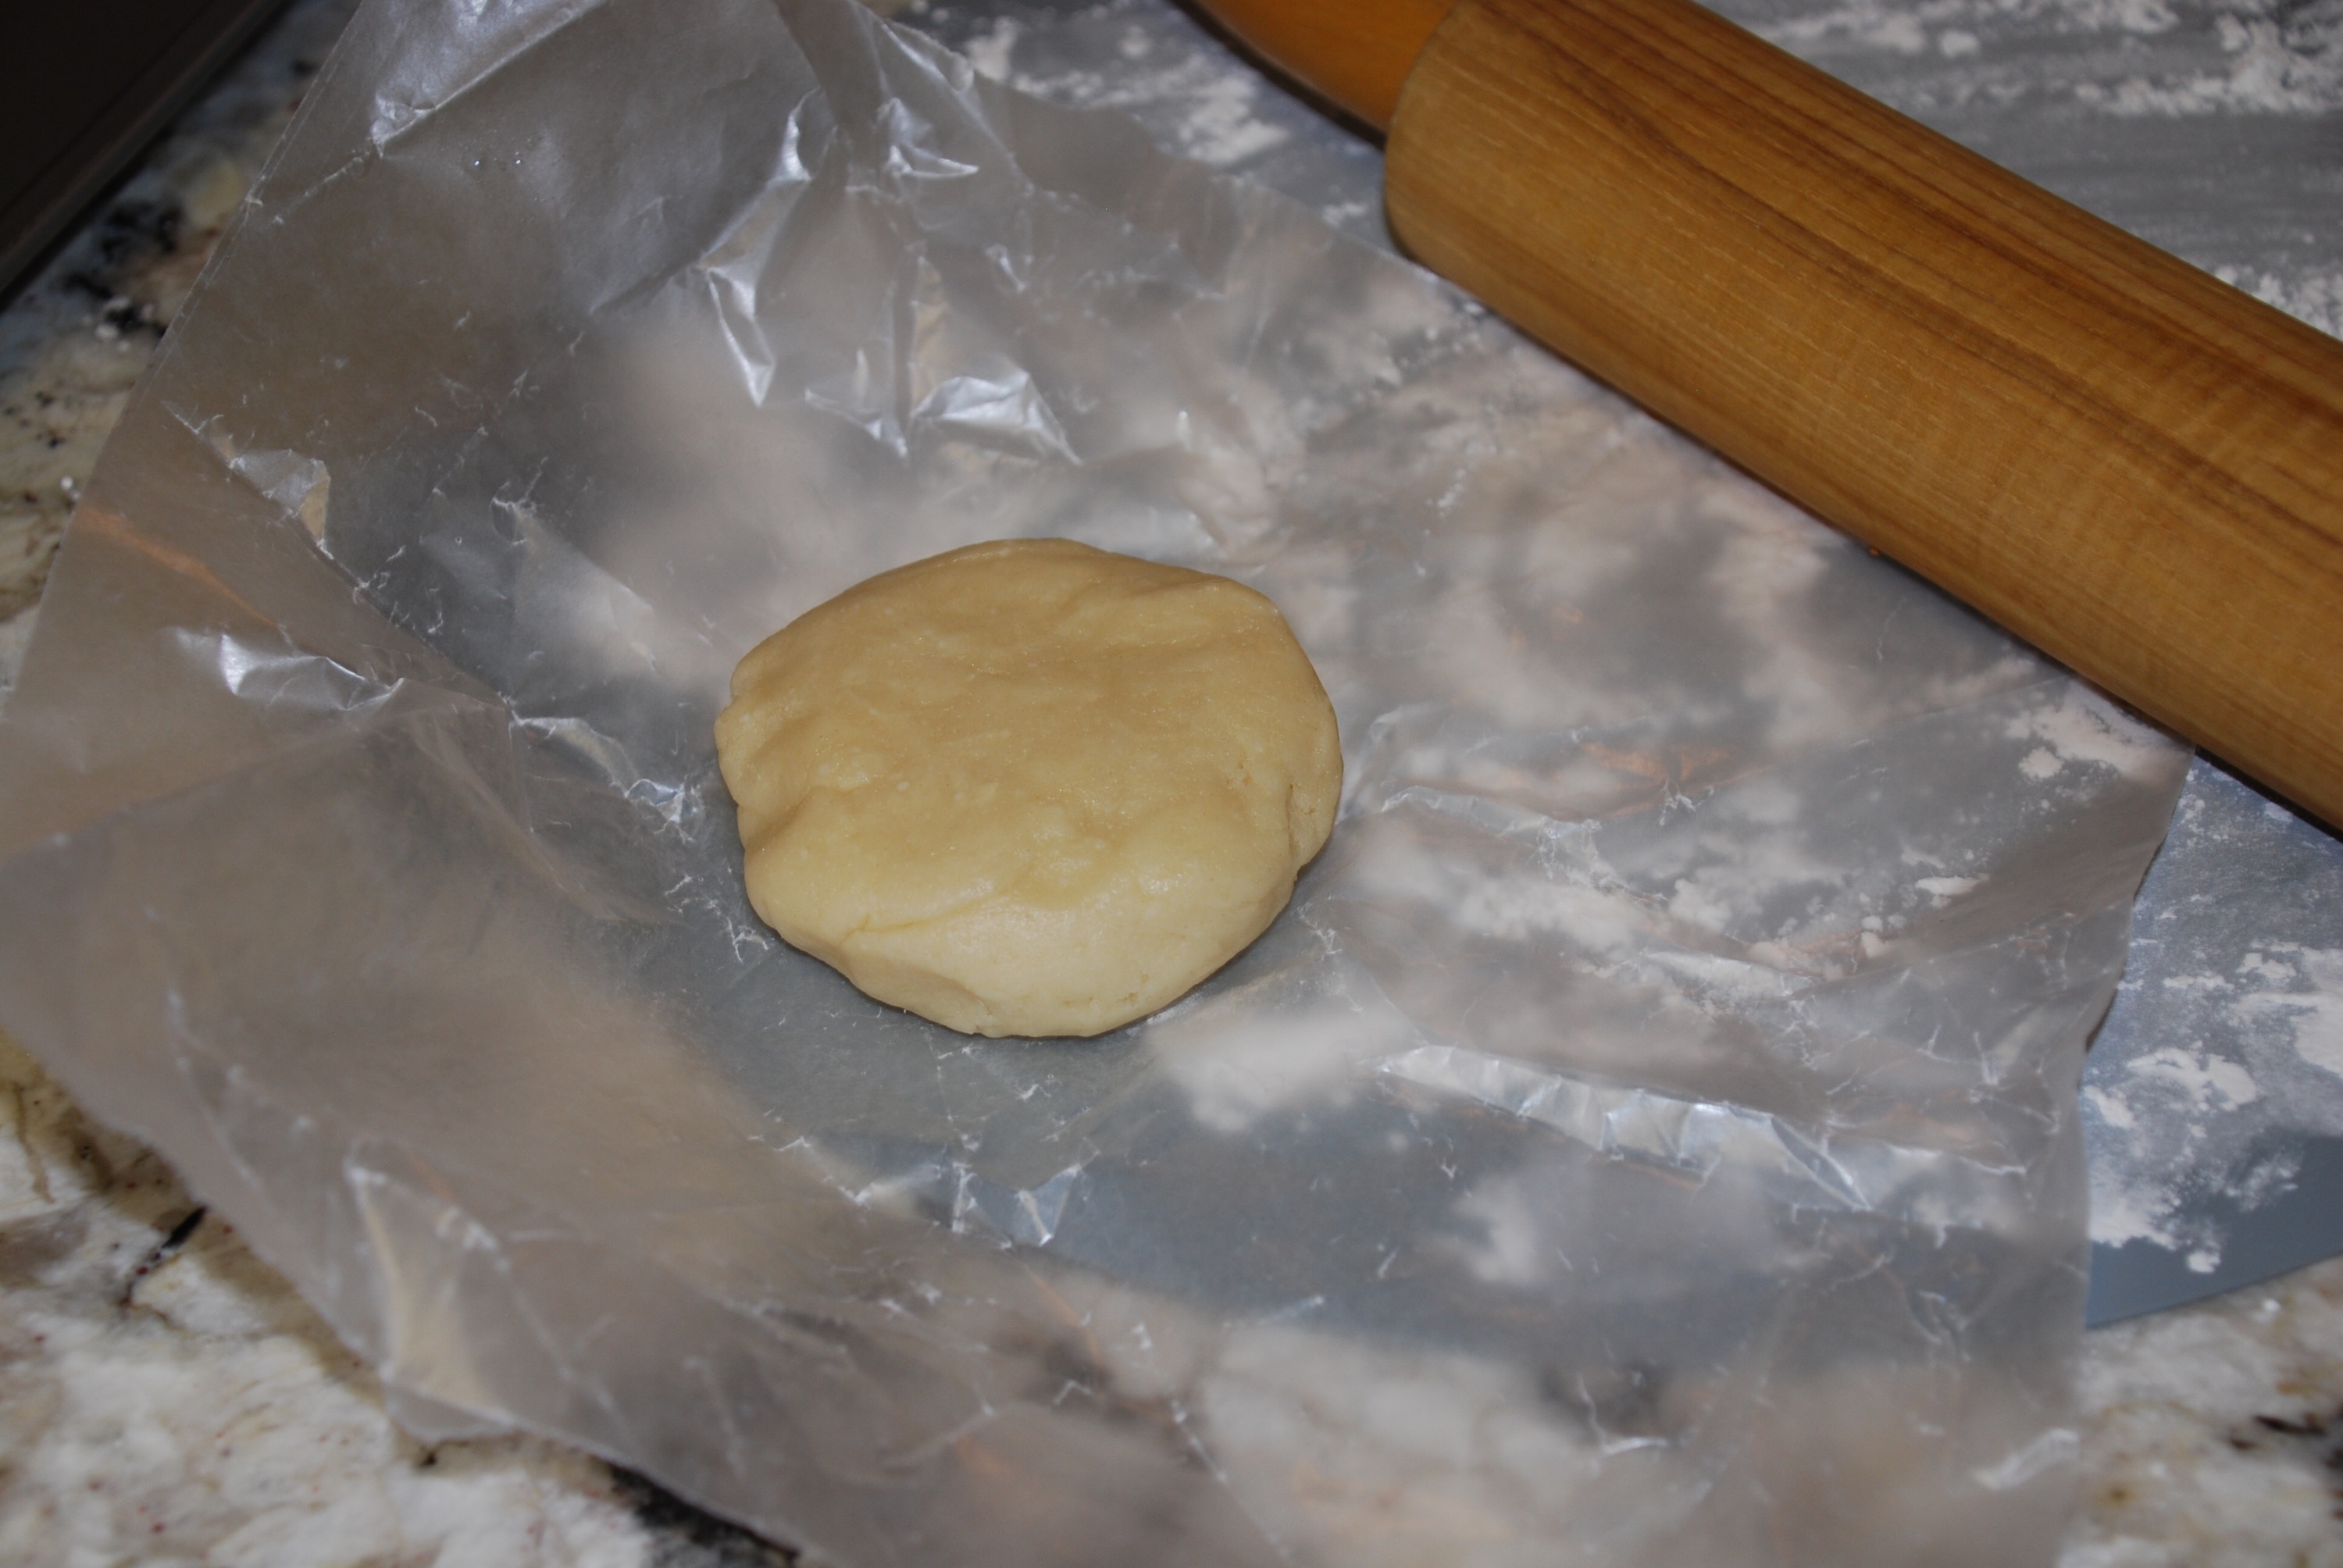
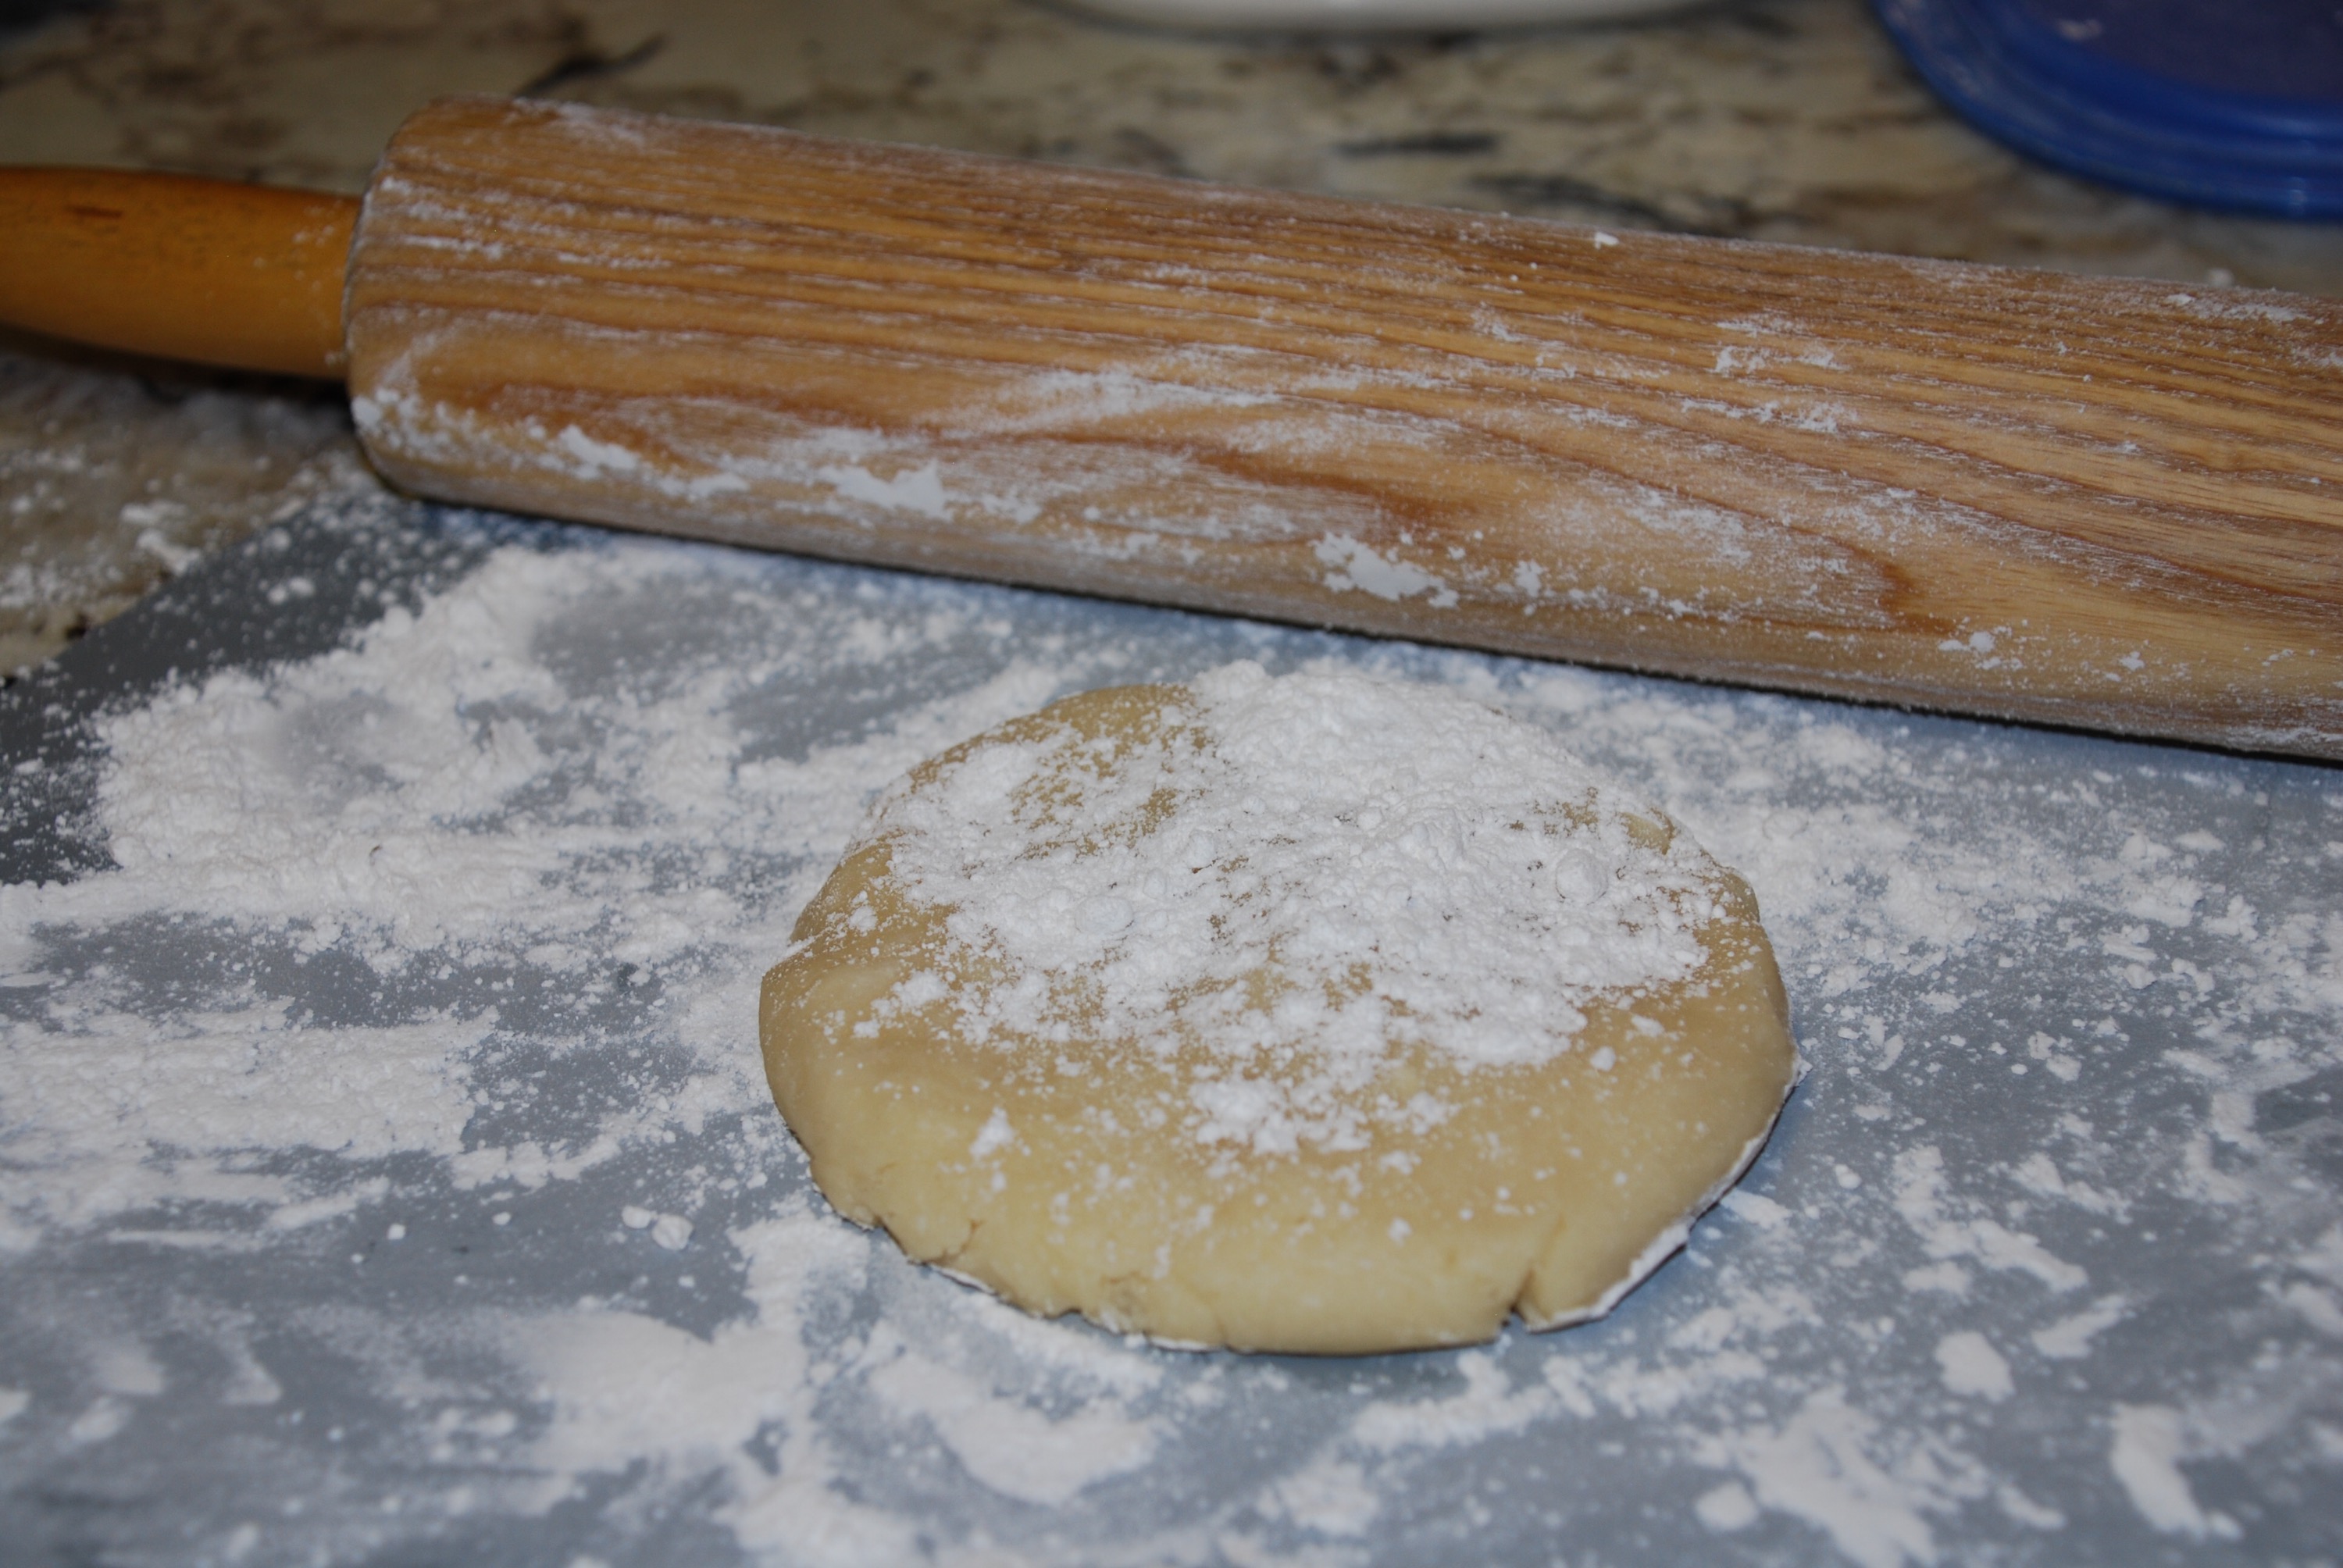
Cut in shortening with a pastry blender, until size of small peas. Sprinkle water over mixture, while tossing quickly with fork, until particles stick together. Form into smooth ball.
Foe ease in rolling out pastry, wrap dough in waxed paper and allow to chill in refrigerator. Lightly roll pastry into circle one inch larger than pie pan. Lift loosely into pie pan. Pat out air. Fold edges under and crimp.
Prick entire crust throughly before baking. This prevents bubbles and excess shrinkage. Bake in a pre-heated oven at 450 degrees Fahrenheit for about 12 minutes or until golden brown. Cool and fill.
A simple, fun way to dress up a pie is to use a shaped pastry cutter with a plunger that you lightly press into your rolled out crust. They come in lots of designs, but my favorites are leaves. Very versatile.
Just cut the shapes out with the plunger. Place on a non stick baking sheet and bake at 350 degrees Fahrenheit for about 15 minutes or until golden brown. When cooled, add them any way you’d like on top of your pumpkin pie. Be creative!
Is this one of your favorite fall pies too? Do you do something really creative with your pumpkin pie? Share your thoughts below and photos if you have them! I’d love to see yours!
the sign in front of the old Big Red offices still stands on LaSalle Ave in Waco, Texas
A lot of people know that Dr Pepper was invented right here in Waco, but did you know that Big Red soda was born here too? Big Red was invented in 1937 and has been made in Waco ever since. One Texas city with two bottling companies born here. Pretty cool, I think!! Big Red isn’t sold as widely as Dr Pepper, but it’s fans are just as passionate. I’ve actually had to bring along six-packs to friends who didn’t live in a states that it was sold in. I’ve heard of some Texans stationed overseas in the military who have loved ones ship them a supply on a regular basis. Now that’s love!
The old Big Red Distribiter building on LaSalle Ave in Waco, Texas
Living here in Waco, we grew up with Big Red. We use it in baking and we enjoyed lots of it poured over vanilla ice cream to make floats. During the hot summer months, my Aunt Willie would bring her hand crank ice cream machine over to my grandmother’s house and she would make us all Big Red Ice Cream. Uncle Roy seemed to always be the one sitting on the back steps cranking that machine while he allowed us kids to add the ice and salt as it melted. Uncle Roy would tell us stories of Tom Sawyer and his life as a young boy growing up in what was a foreign state to us. He would let us crank from time to time, but none of us hung in that long. Dang, that was hard work!! Bless his heart! Looking back now, I really appreciate him!
Big Red soda bottled in Waco, Texas
When all that cranking was done, and the lid was finally opened, what came out was MAGICAL!! Creamy, fruity, magic! Better than a float any day! Big Red ice cream!
Yummy, refreshing Big Red ice cream
Waco’s Big Red Ice Cream
1 can sweetened condensed milk
1/2 pint of whipping cream
1 – 10 ounce package of frozen strawberries
1 – 2 liter bottle of Big Red (64 ounces)
You will also need a bag of ice and rock salt for your ice cream freezer.
Mix together the sweetened condensed milk, whipping cream and partially defrosted strawberries in a medium bowl. Once combined, pour into standard size ice cream freezer cylinder. Place cylinder in outer bucket of machine. Fill cylinder with Big Red. Insert paddle, cover cylinder and attach motor. Fill outer bucket with ice, layering along the way with the rock salt, repeating till ice is at the top of inner cylinder. Freeze according to manufacturers directions.
Makes about 3 quarts. This ice cream is yummy right out of the ice cream maker or you can freeze and serve later. Store leftovers in freezer safe container.
Use any soda and fruit combination to make delicious ice cream!
You can use the basic part of this recipe and change up the soda and frozen fruit to customize it to any flavor combinations you wish. Just use your imagination! There are so many speciality sodas available now that you can just go crazy! My Aunt Willie would sometimes use Orange Crush and frozen pineapple. It was really good too! Here’s a few other variations you might like to try:
Ginger ale with pineapple
Cream soda with cherries
Cherry soda with dark cherries
Ginger ale with peaches
Pomegranate Italian soda and blueberries
Be sure to share what ice cream you’re planning on making!
Have you had Big Red ice cream before? Tell us your story.
Super easy and quick Italian Chicken Tenders and Baked Tomatoes
Aren’t we all looking for quick and healthy meals to place on our table on week nights? Especially on school nights. Too much going on to slave over a hot stove.
My kids favorites seemed to always include chicken tenders or pizza. This super quick combo of tenders, Italian seasonings and fresh tomatoes should be a sure hit. The baked tomatoes are a lot like having pizza but without the guilt of a heavy crust.
The best part is that this meal, with prep and baking time, should take less than 45 minutes from start to finish! Plenty of time left for homework, sports and family time! Add a salad and you have a complete meal.
The kids will love to help with this one too. What kiddo doesn’t love squishing stuff around in a ziplock bag? When they help you in the kitchen, you’ve got a better chance of them eating something healthy without the dreaded, “Yucky!”
What kid wouldn’t like smushing chicken and mayo around in a zippy bag?
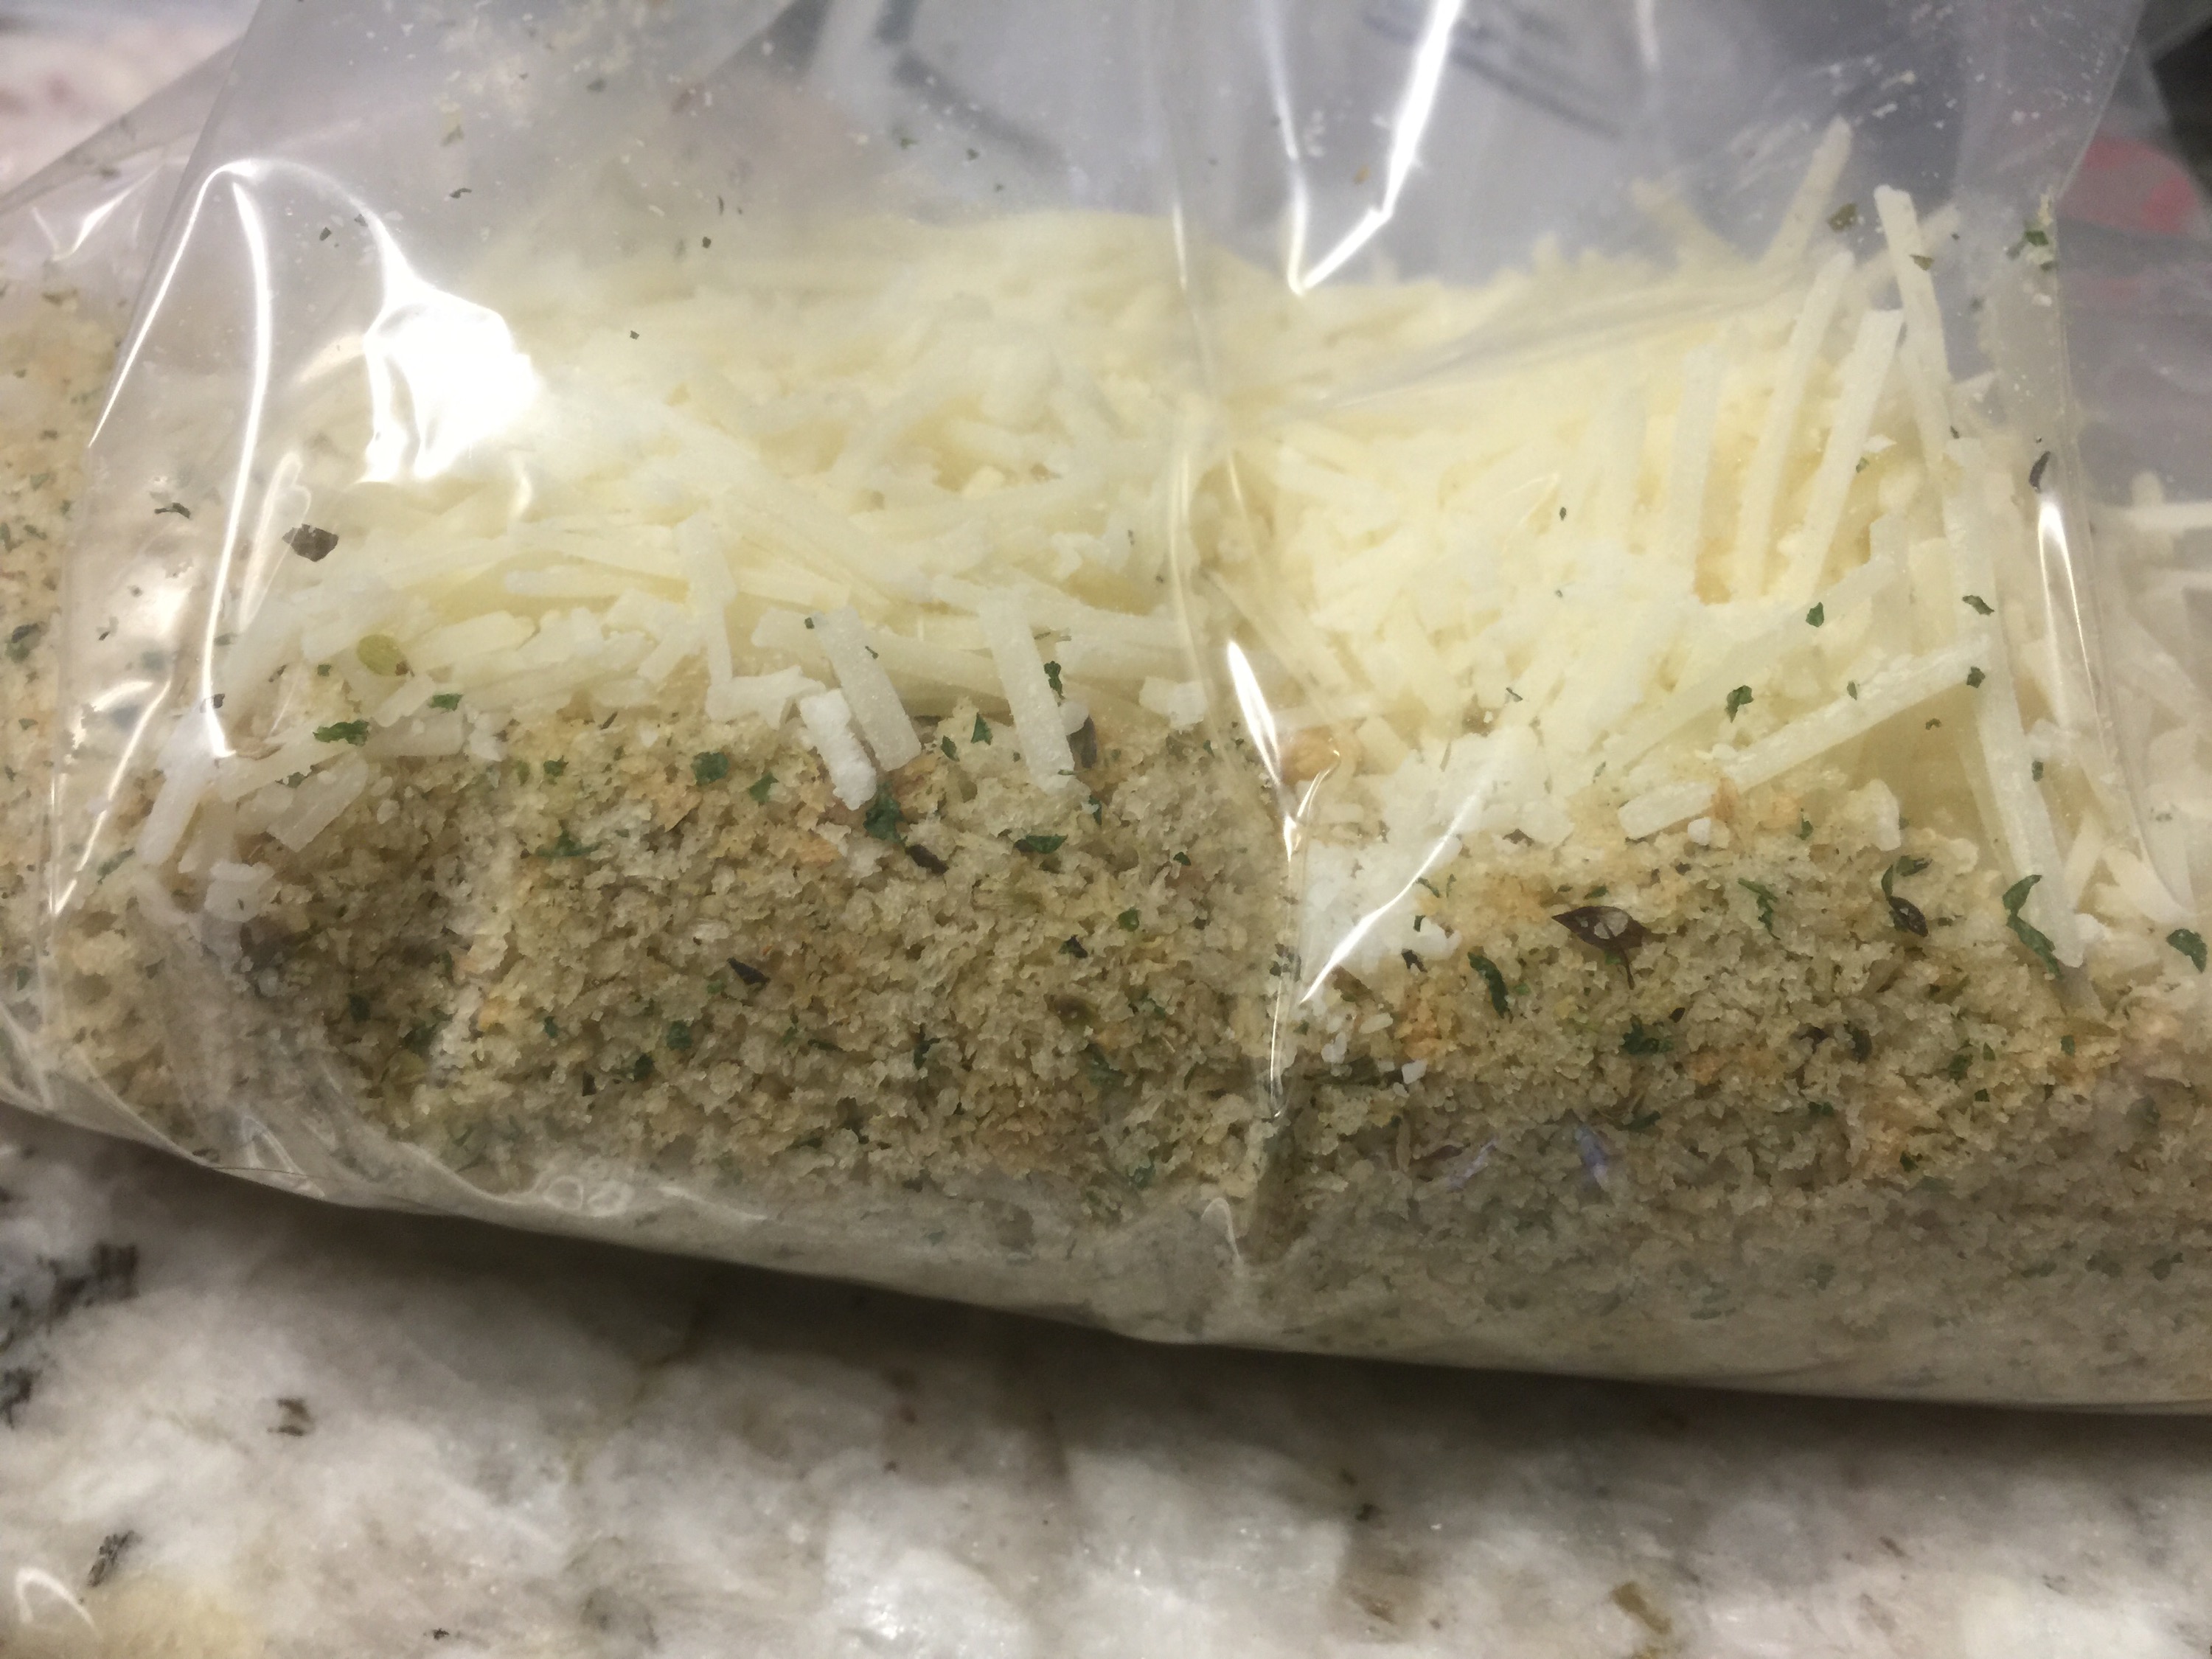
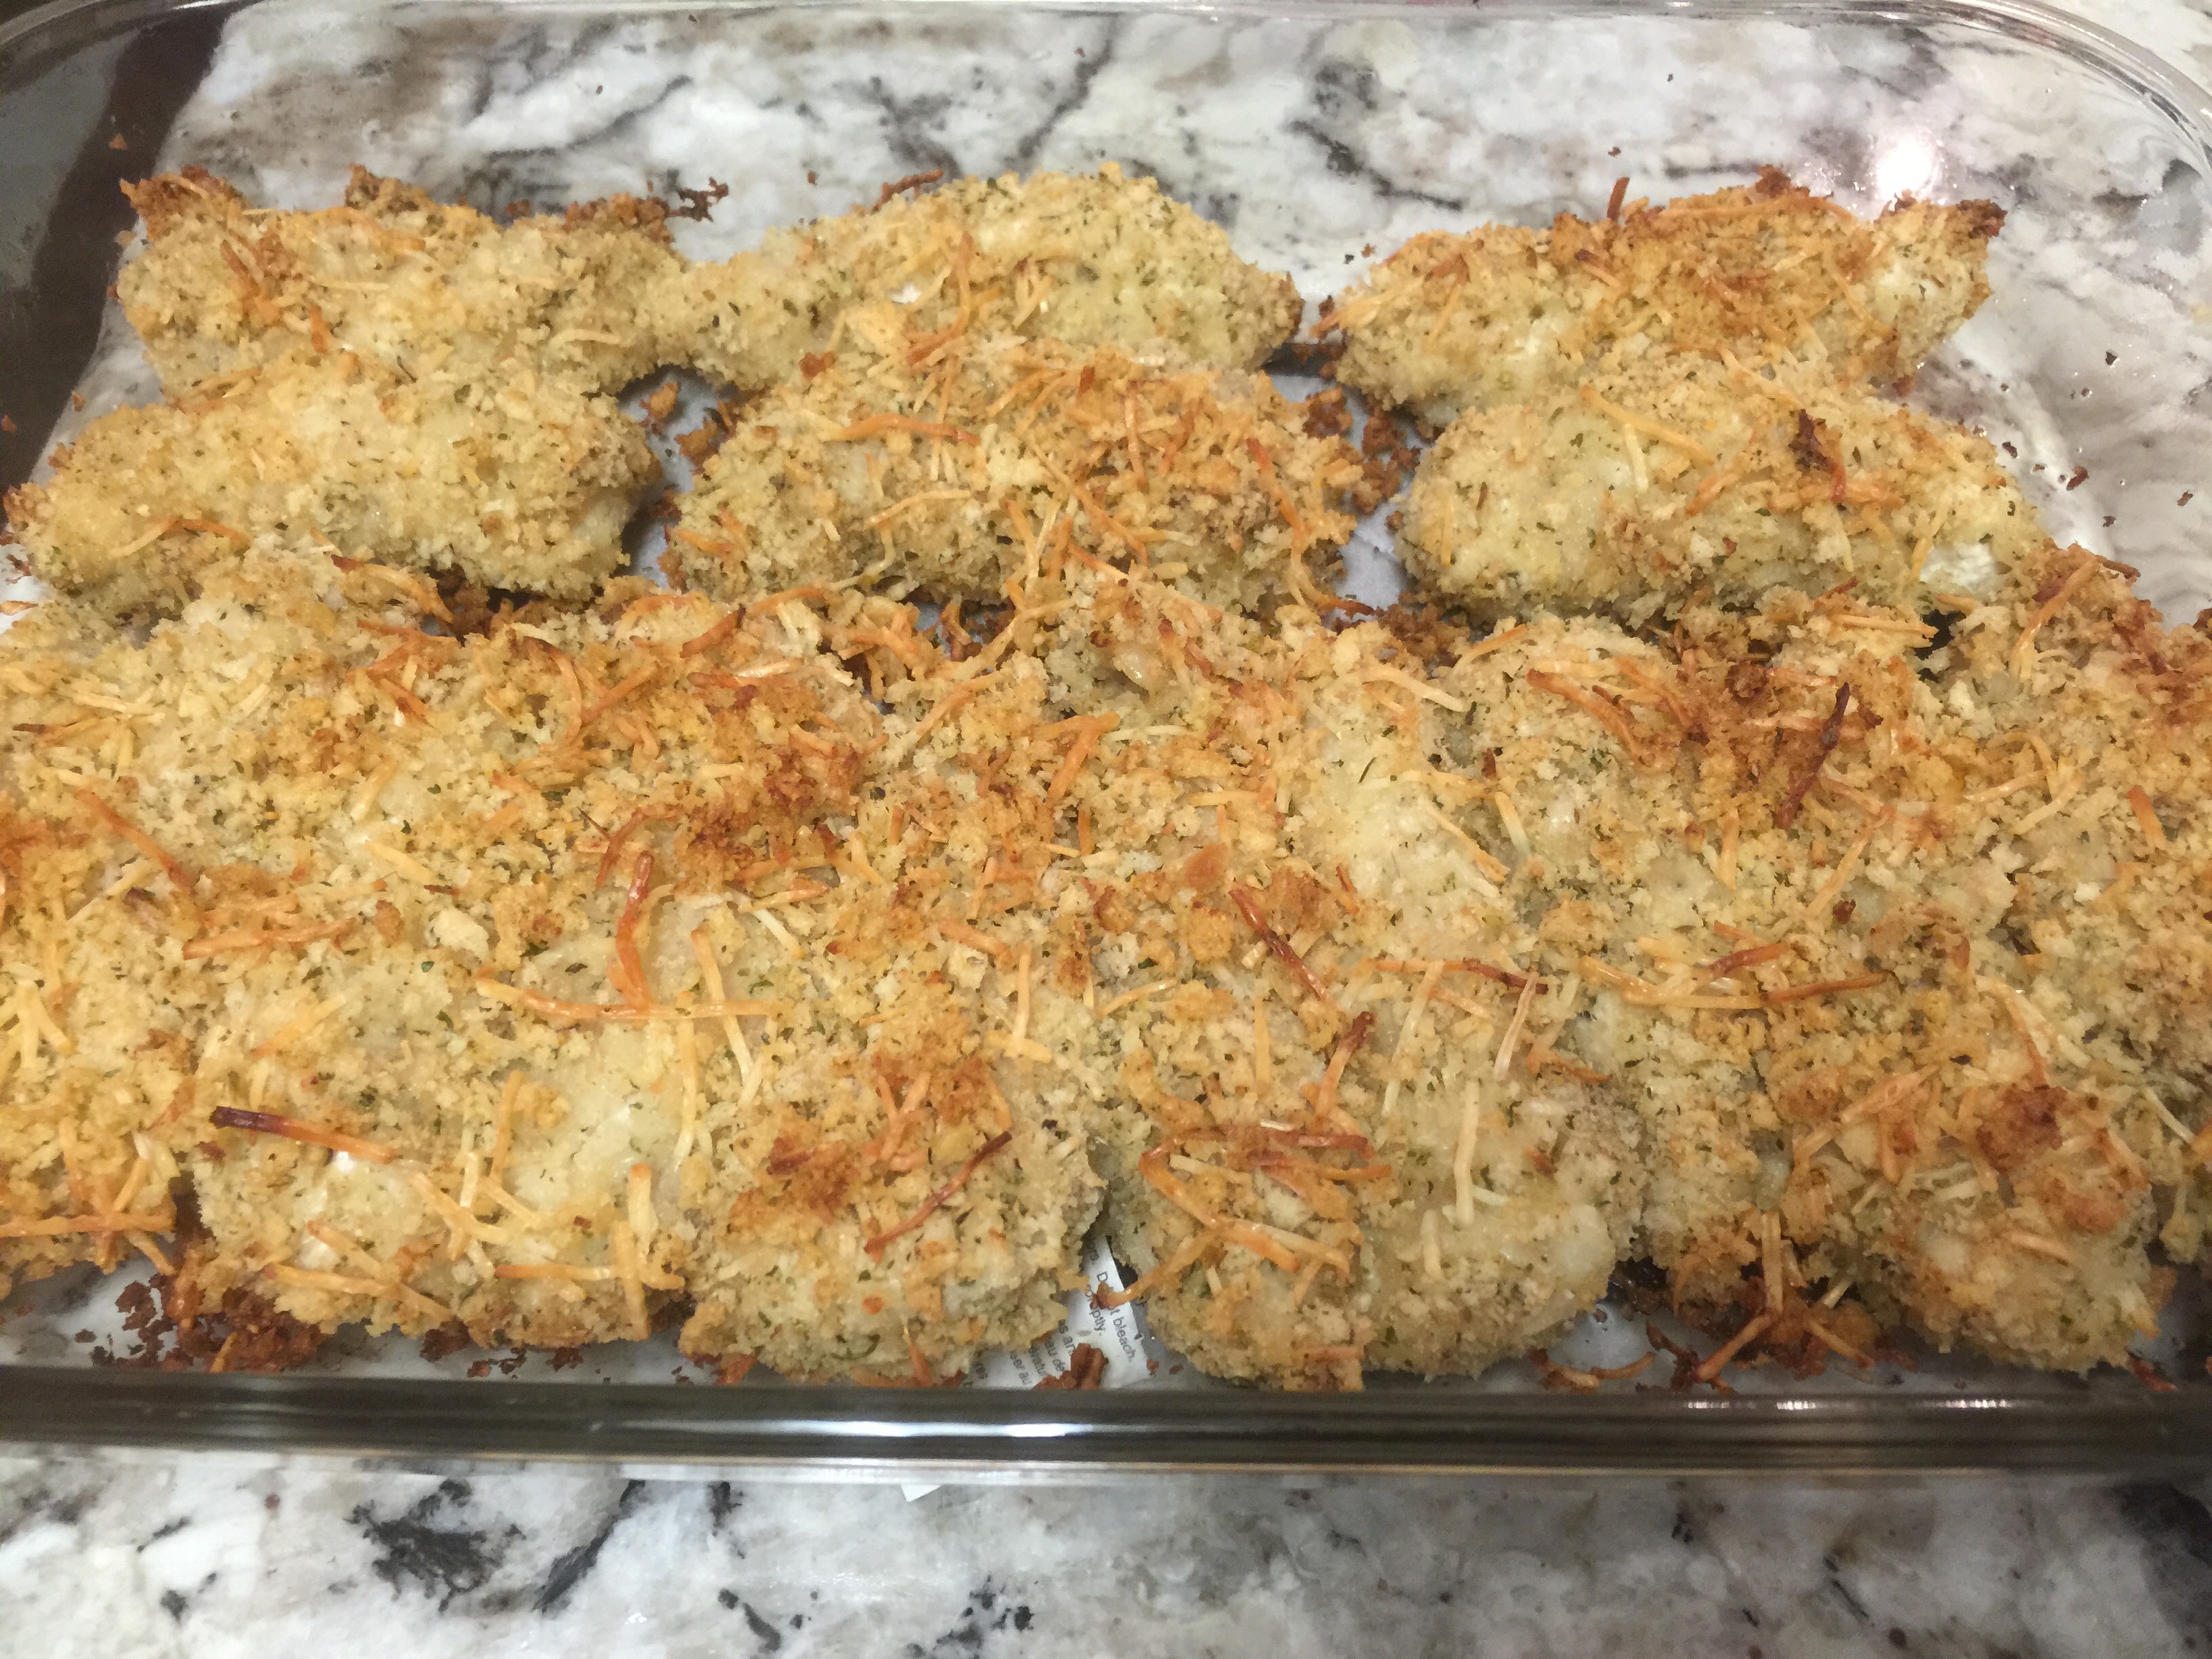
in a seperate zippy bag, combine bread crumbs and cheese. Add chicken and sqush around again to coat.Place chicken tenders in a single layer in a baking pan or sheet.Crispy Italian Chicken Tenders are moist and delicious!
Easy Italian Baked Chicken Tenders
2 pounds fresh chicken tenders
3/4 cup mayonnaise or Miracle Whip
2 cups Italian seasoned bread crumbs (or panko)
1 cup Pecorino or Parmesan cheese, grated
2 – 1 gallon size plastic storage bags
Place fresh chicken tenders in a large storage bag and add the mayonnaise. Seal bag. Using your hands, squish the mayo over and around the chicken, covering it completely.
In a separate storage bag, combine the bread crumbs and cheese. Drop several of the mayo coated chicken tenders in the bag with bread crumbs and toss them in the sealed bag. Make sure that they are well covered.
Lightly spray pan release in bottom of 13X9 rectangle pan or cookie sheet. Lay tenders on pan in a single layer. Bake at 400 degrees for 25 minutes until golden.
And now the yummy Tomato Bake…
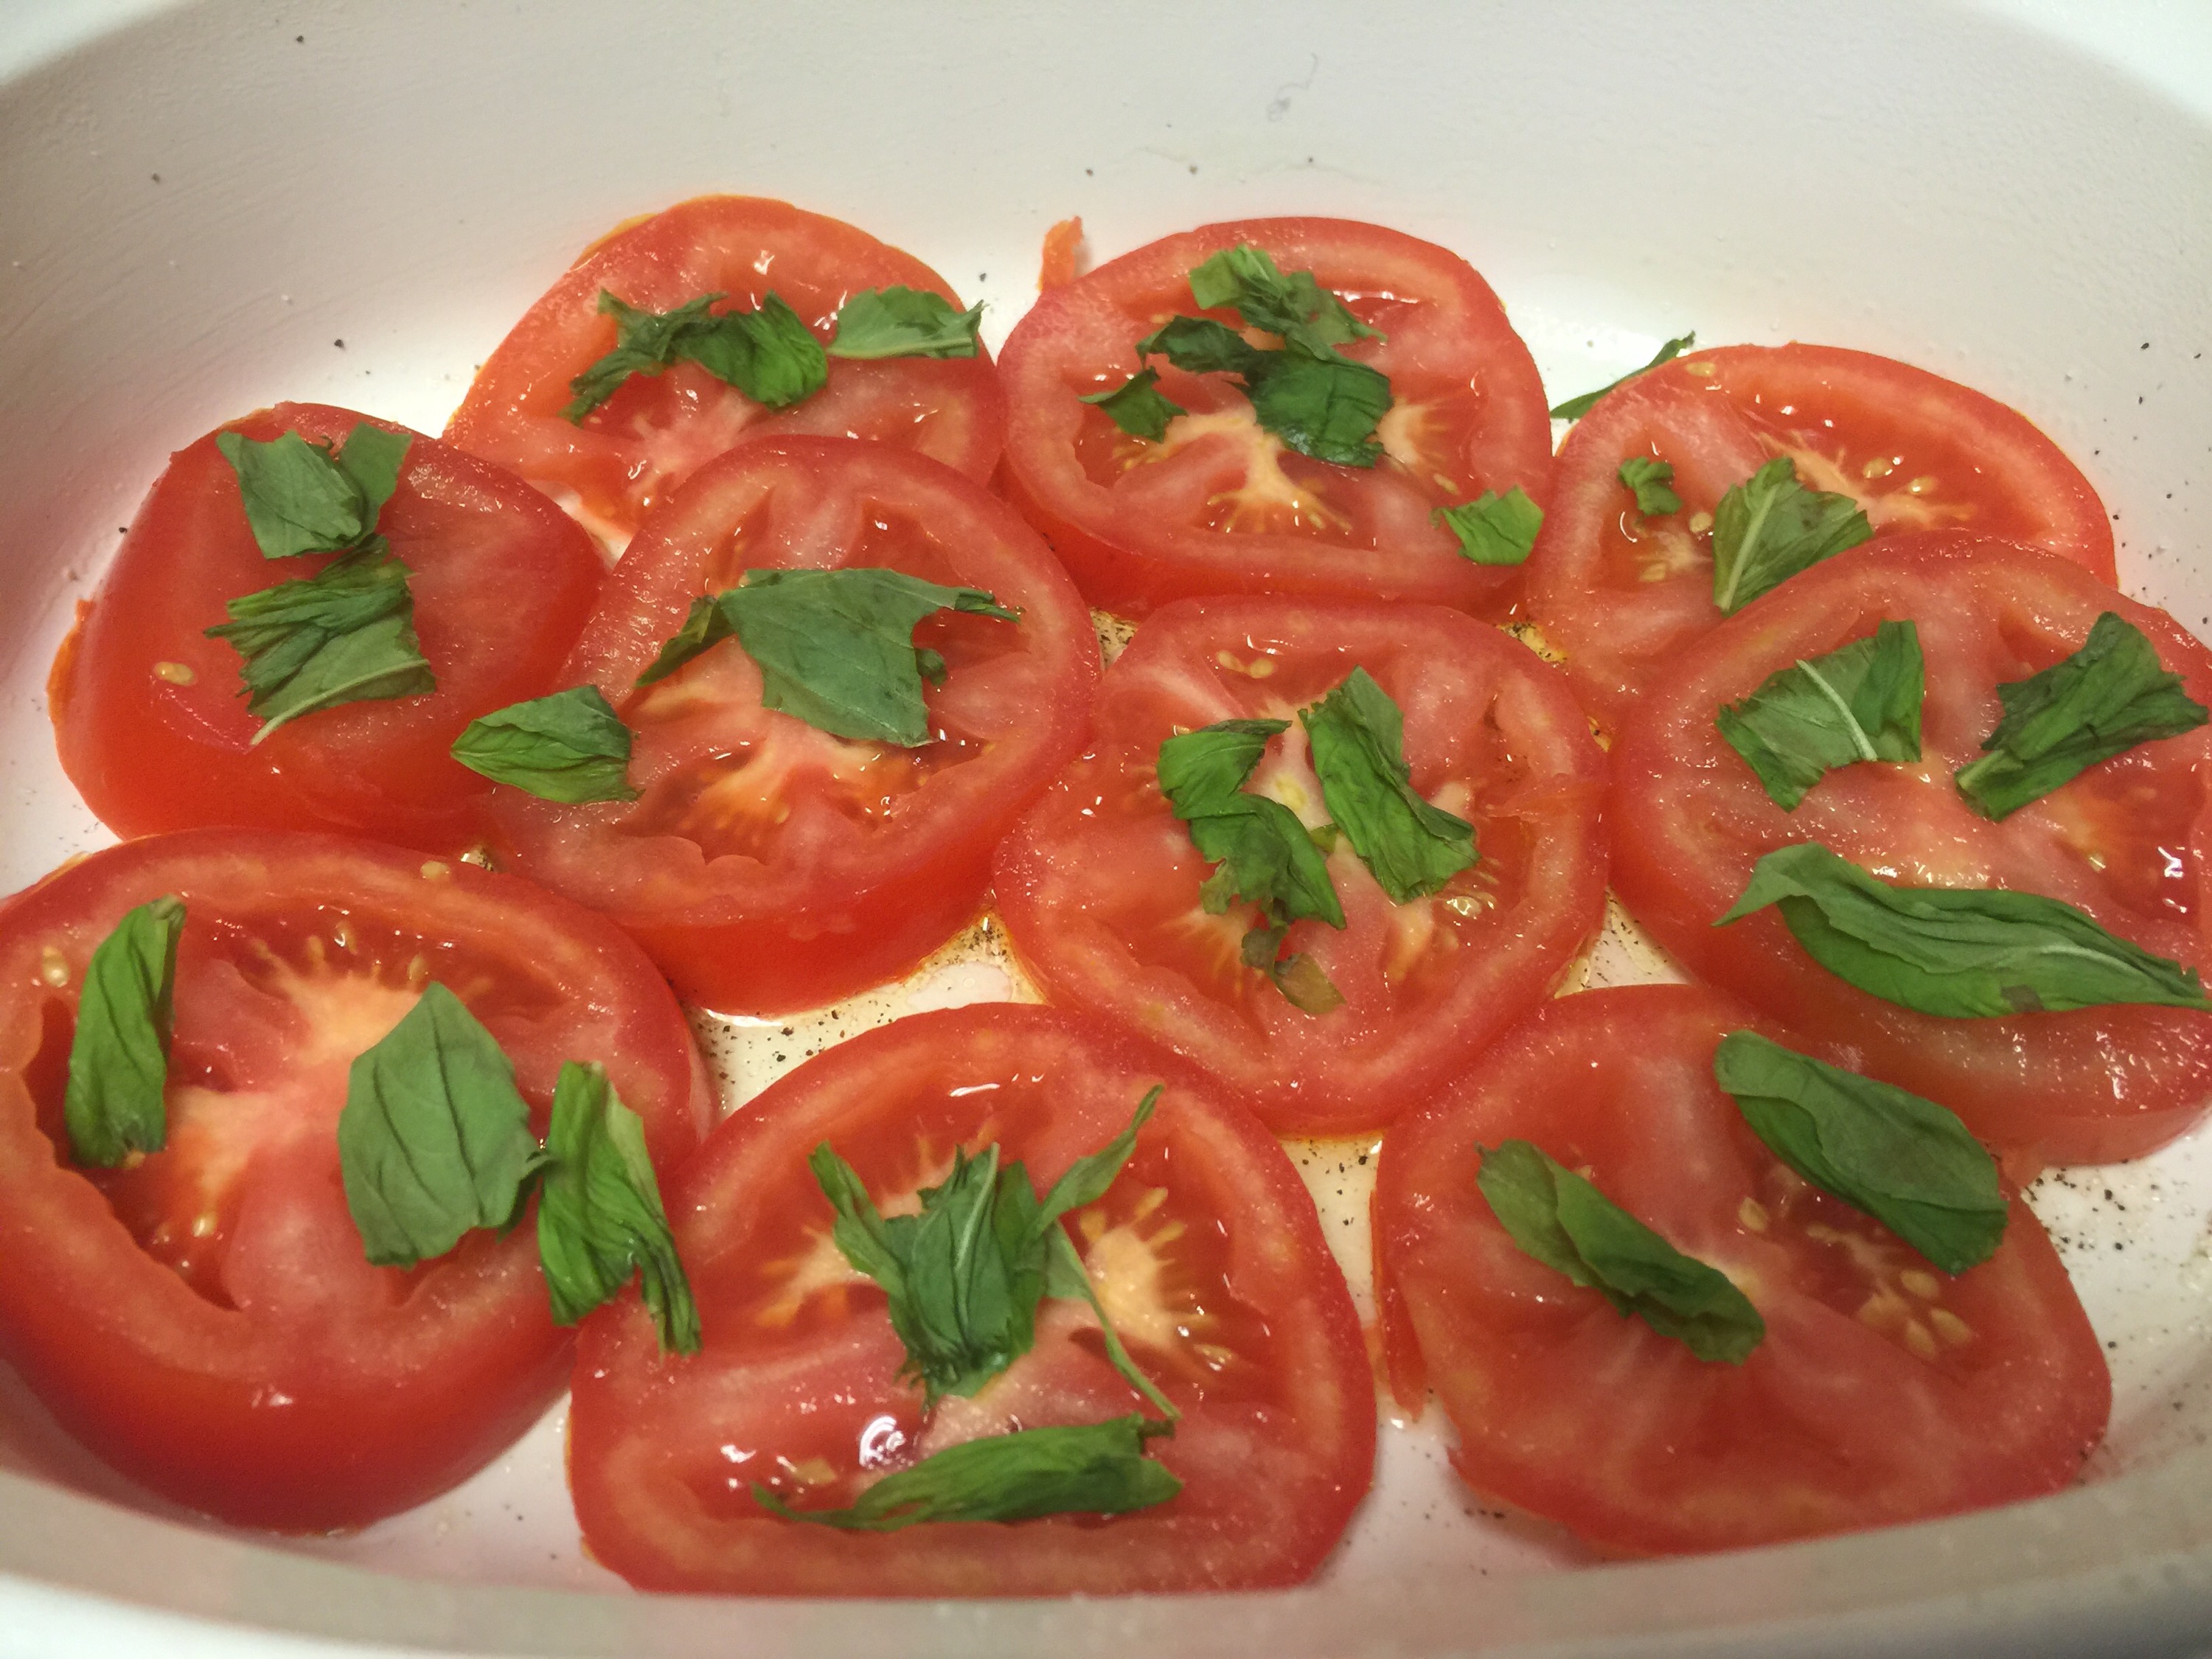
Slice tomatoes 1/4 inch thick and place in a single layer in prepared oval baking pan. Top with fresh basil.Top with bread crumbs and cheese then drizzle a little olive oil over the top
Italian Tomato Bake out of the oven and topped with additional fresh basil.
Baked Tomatoes
2 large tomatoes
Salt and black pepper
3 tablespoons olive oil
6 fresh basil leaves
1/2 cup Pecorino or Parmesan cheese, grated
1/4 cup Italian seasoned breadcrumbs (or Panko)
Spread 1 1/2 tablespoons olive oil in bottom of oval baking pan. Lightly salt and pepper the pan. Slice tomatoes about 1/4 inch thick and place in a single layer in pan. Lightly salt and pepper tomatoes. Tear fresh basil leaves and sprinkle them evenly on top of tomatoes.
Combine grated cheese and bread crumbs in a small bowl. Sprinkle mixture evenly over tomatoes. Drizzle with a little more extra olive oil if you’d like.
Bake at 400 degrees for 15 minutes. Garnish with additional fresh, torn basil leaves.
This is a seriously good cake. Not overly sweet. Perfect after dinner, on a hot afternoon with a cold glass of tea or in the morning with your coffee. Easily packs away in your or your kids lunch box. Any way you serve it will be enjoyable!
It’s even better the next day. That is if you can bare to save a slice that long.
Blueberry Snack Cake
Blueberry Snack Cake In a large bowl:
2 sticks unsalted butter, softened
1/2 cup sugar
2/3 cup packed brown sugar
Separately, whisk together in a medium bowl:
2 cups all purpose flour
1 teaspoon salt
1 tablespoon baking powder
3 large eggs
1 cup milk
3/4 cup fresh or frozen blueberries
For Topping
3/4 cup fresh or frozen blueberries
1/4 cup sugar
1/2 teaspoon ground cinnamon
Leave butter on your counter to soften
Leave butter on counter for about an hour to soften. If it’s summer in Texas, about 20 minutes on a plate in the shade outside will do.
Heat oven to 350 degrees. Grease and flour a 11X13 baking pan. Set aside.
Meanwhile, in a medium bowl, mix together the flour, salt and baking powder. Use a hand whisk to lighten the flour and give it a little air. Set aside.
Once butter is softened, add it to the sugars in a large bowl. Use a hand mixer to cream the sugars together until a smooth mixture forms.
Add cracked eggs one at a time to butter/sugar mixture, beating at medium speed. Add half the flour mixture, then half of the milk. Repeat flour and then milk till all is well incorporated.
For fresh blueberries, wash and dry with paper towels. Once dry, toss them with about a tablespoon of flour to coat. Doing this extra step will help keep the berries from falling to the bottom of your cake. (For frozen blueberries, do not defrost or they will make your batter a grey looking mess. Just add them to the cake batter straight out of the freezer.) Gently fold berries into the batter. Pour into prepared baking pan, spreading evenly.
For the topping: In a small bowl, combine the sugar and cinnamon. Drop reserved blueberries evenly on top of cake batter. Sprinkle with sugar cinnamon sugar.
Bake at 350 degrees on center oven rack for 40-45 minutes until a toothpick comes out clean. Cool about 30 minutes before serving. Little pockets of blueberries will be really hot.
Oh shoot! Just dive in if you want! The smell will be amazing!!
Try to save a piece or two to have with your morning coffee. You won’t regret it 😉
Blueberry Snack Cake is yummy with your morning coffee!
Super simple recipe that anyone can do and conquer canning!
I’ve tried growing a couple of pickling cucumber plants each spring, but never had much luck with them. Never enough to to make a batch of pickles. Just a few to add to cucumbers I pick up at our farmers market.
This year was quite different with all the rain we had this spring here in Waco. There was flooding in places all over Texas. So much that it made the national news. The natural pool at Tonkawa Falls in Crawford was higher than we had ever seen it before. Wish we still had some of that rain lingering around. The fall’s swimming area has already been closed because of its dramatic drop making the water stagnant. Hopefully we will see rain again soon.
Anyway, all that rain made for a bumper crop from my two little plants. I was able to make my zesty pickles with cucumbers just from my little garden.
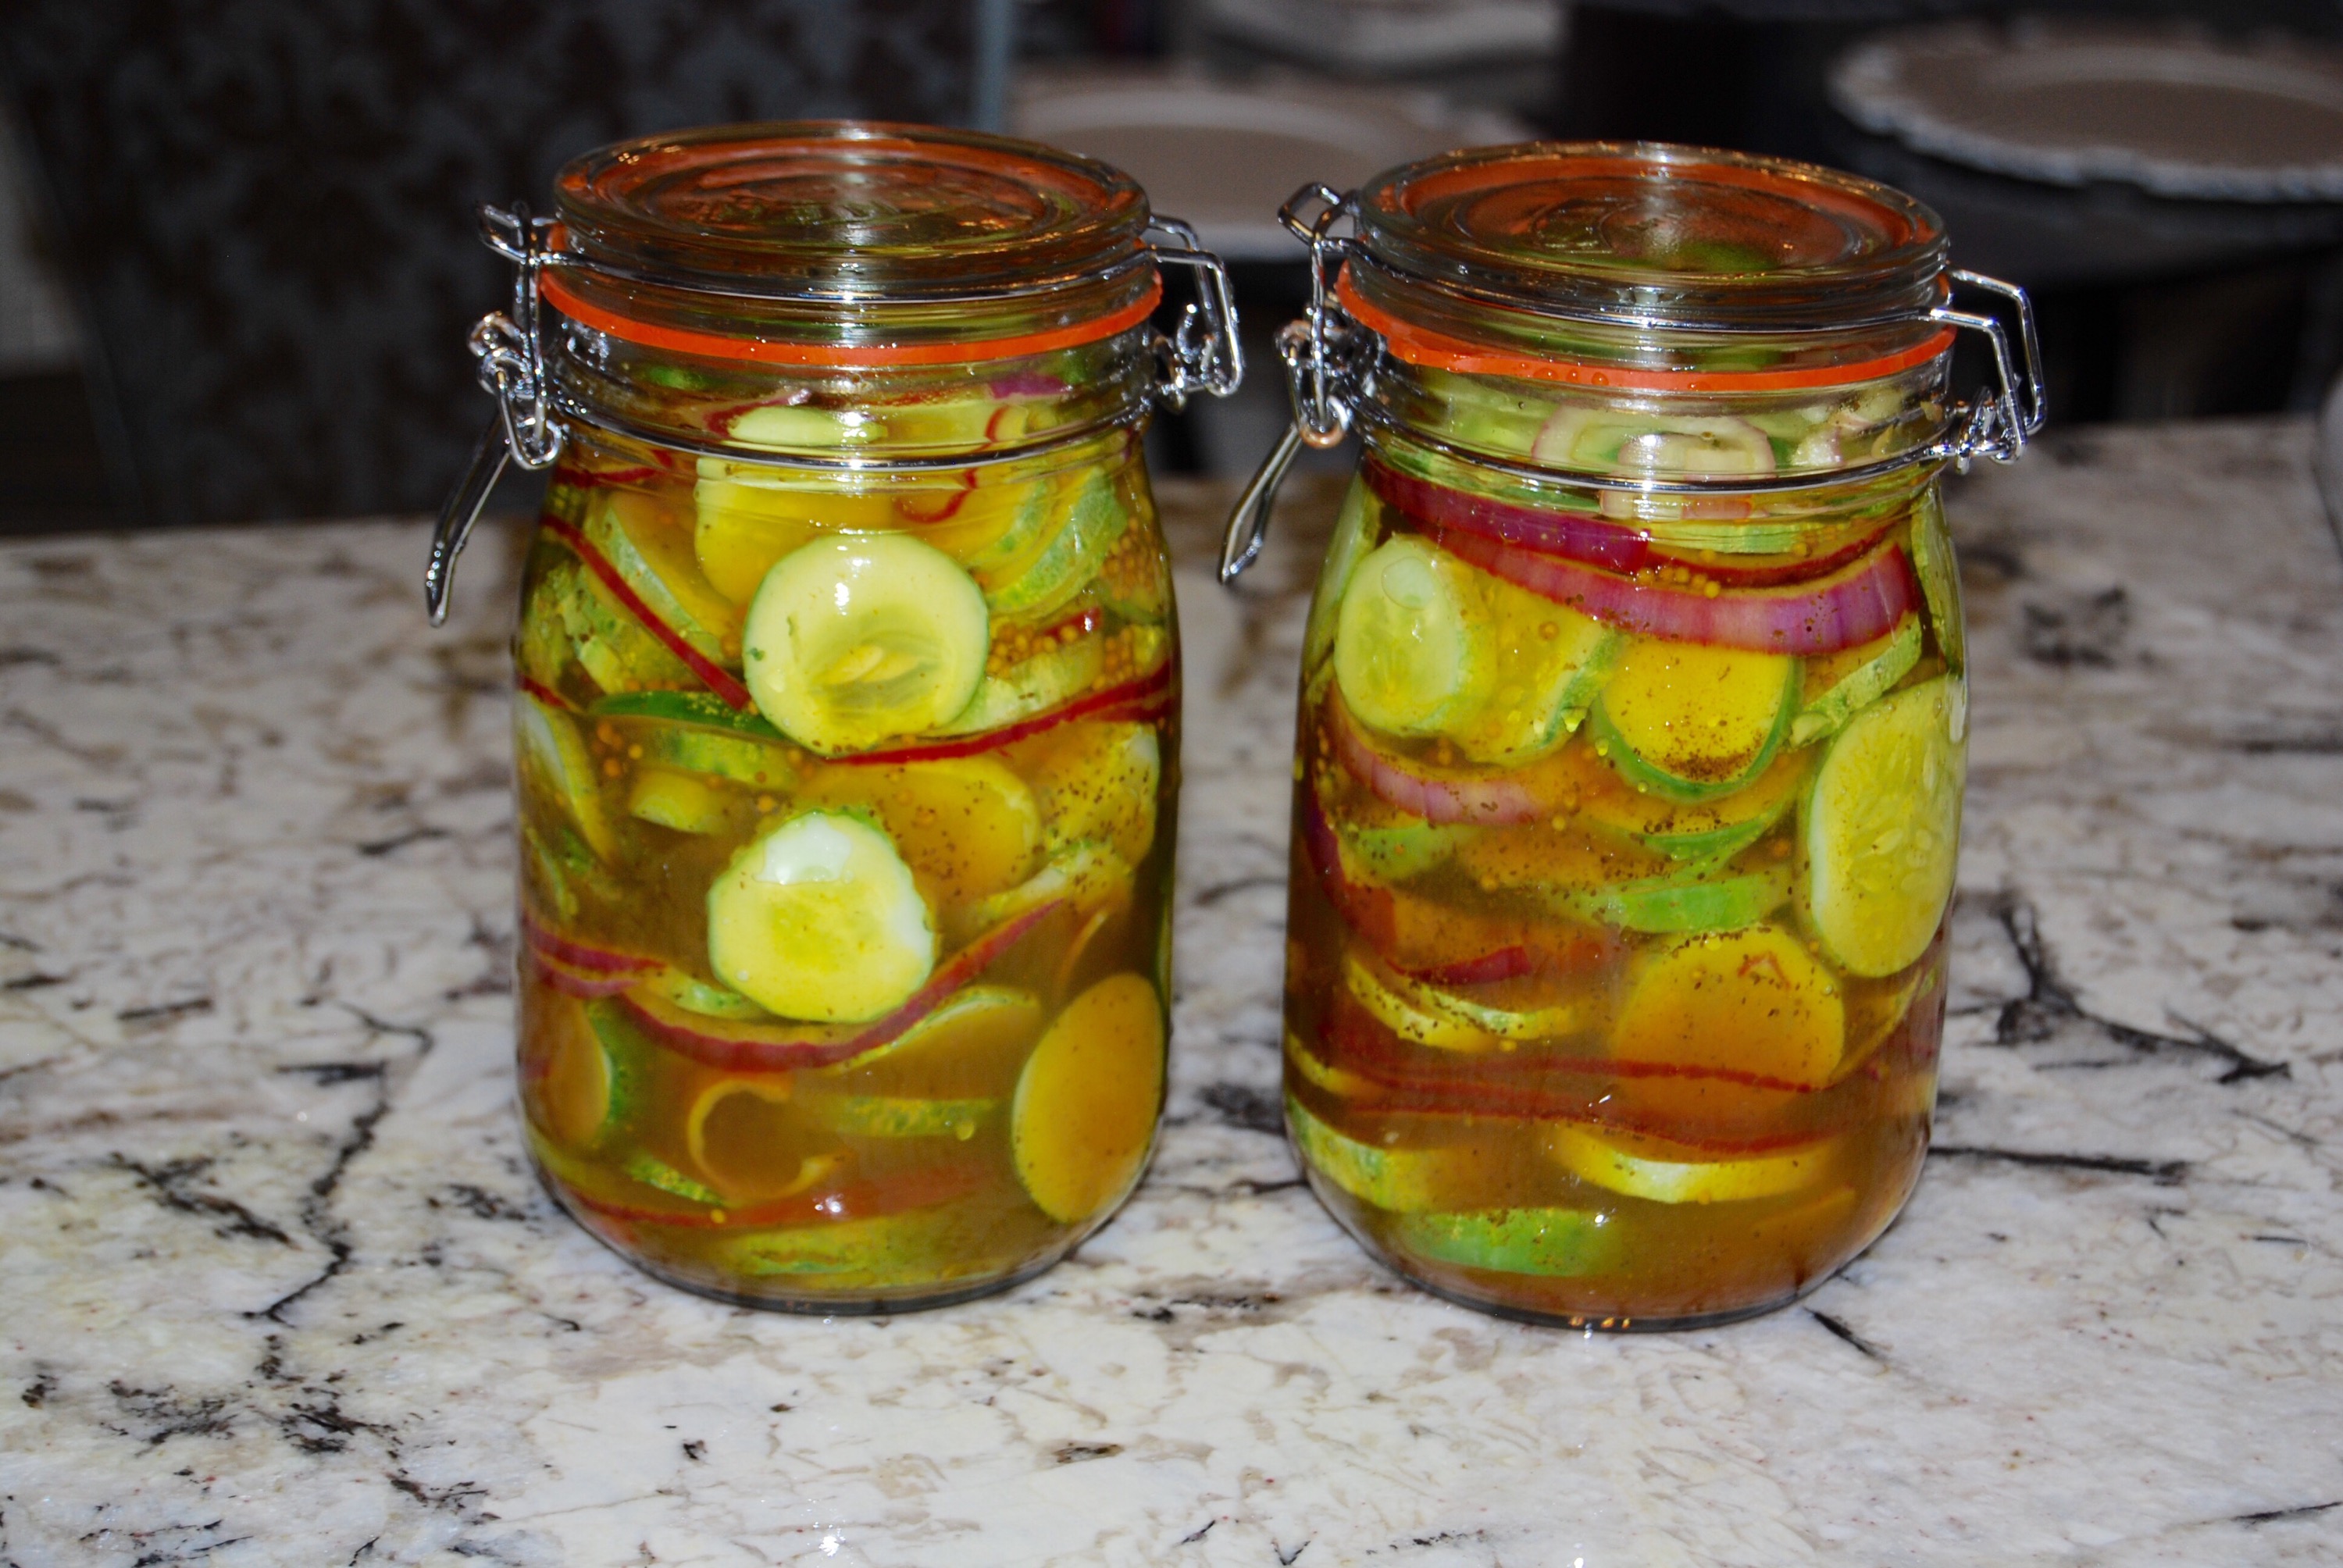
These are great pickles that you don’t have to go through all the trouble that goes along with full fledged water bath canning. It’s a very forgiving recipe too. You can easily adjust this recipe to depending on the number of pickling cucumbers you have or add a little more spice if you like yours hot. I bought some kinda fancy jars I found at our neighborhood grocery store, but you can use just about any jar or container as long as you wash them really well in hot, sudsy water.
Easy Zesty Refrigerator Pickles
12 cups pickling cucumbers, thinly sliced
1 large red onion, thinly sliced
2 1/2 cups sugar
1 teaspoon salt
1 teaspoon mustard seed
1 teaspoon celery seed
1 teaspoon ground turmeric
1 teaspoon ground cloves
3 cups apple cider vinegar
Layer cucumbers and onions in jars or refrigerator containers that have been throughly washed in hot soapy water.
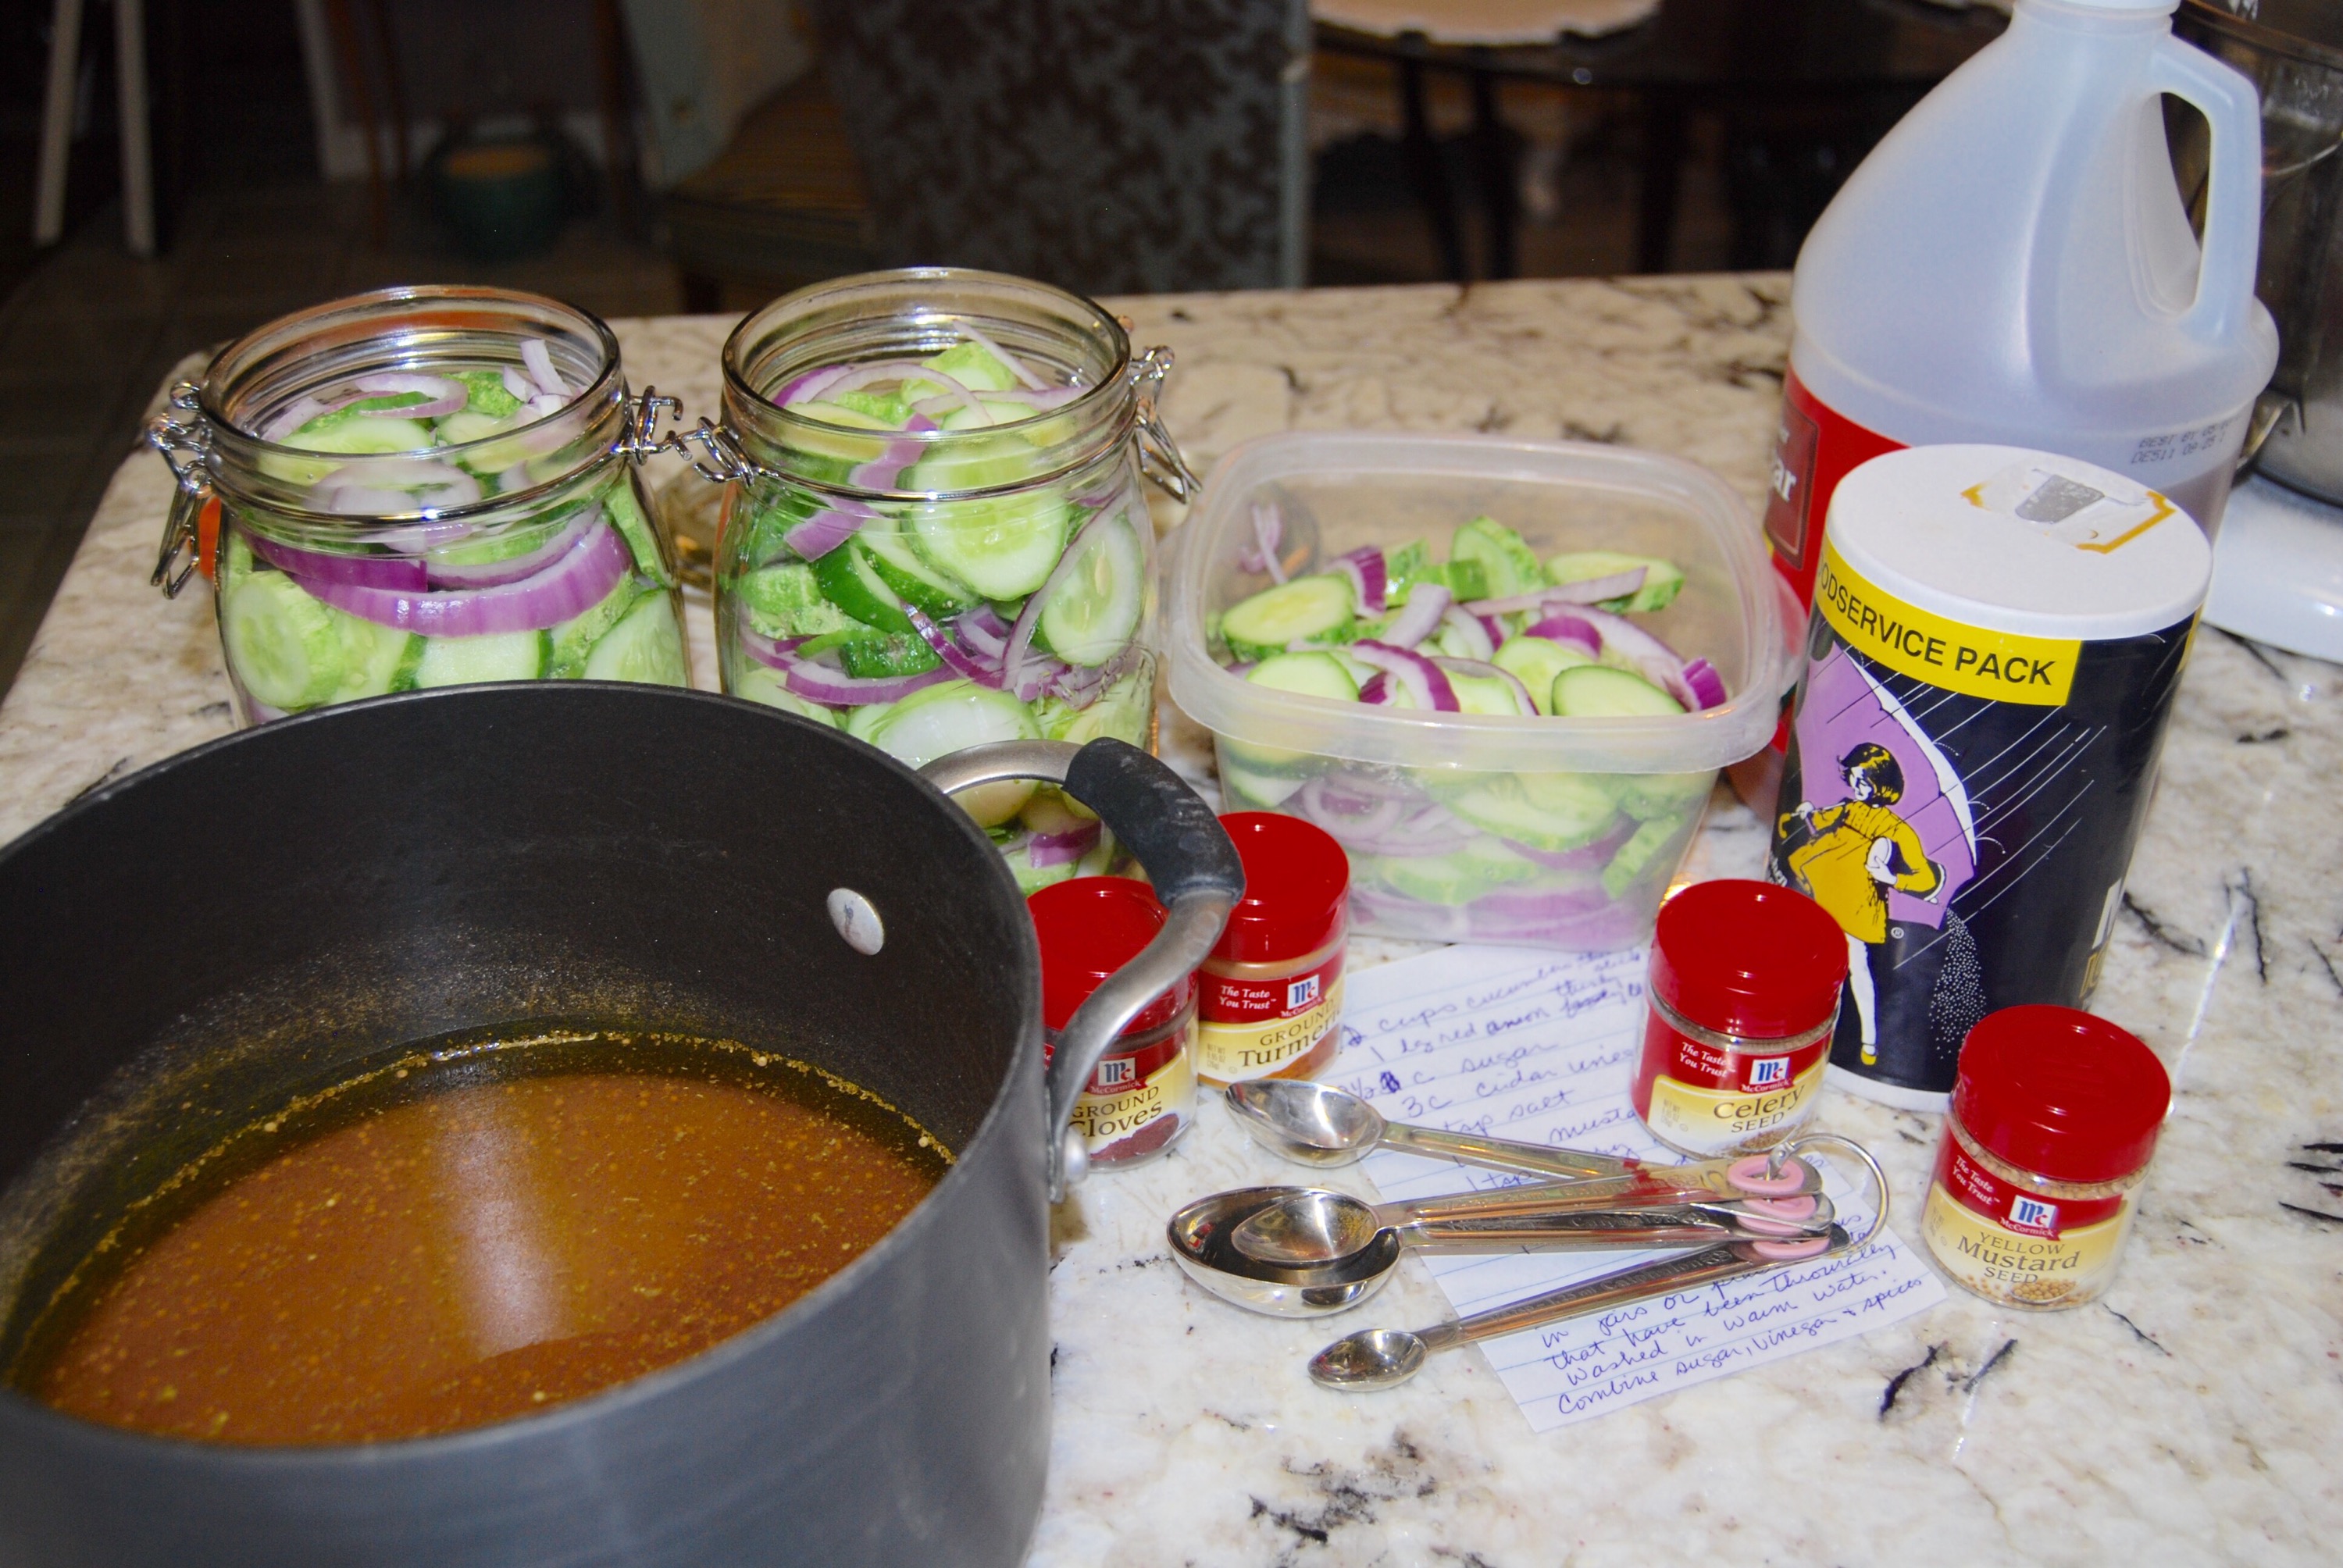
Combine sugar and all spices in a large saucepan mixing well. Add apple cider vinegar to mixture, stir continually and bring to a simmer over medium heat to dissolve sugar.
Carefully pour hot mixture over cucumbers and onions. Cover tightly and store in refrigerator at least 24 hours. Will stay fresh in the refrigerator until all are used.
*be sure to clean up any spilled liquid right away as it can stain your counter top!! Wooh! Almost learned this the hard way!!
Is there a food that sometimes you lay awake at night and dream about? A dish that you’ve had that you compare all others that you try in different restaurants to?
Well, thats what the Spaghetti Carbonara at Ciro & Sons in Florence, Italy is to me. My dream plate of food. One of the best things I’ve ever eaten!
Spaghetti Carbonara at Ciro & Son’s in Florence, Italy is absolutely the best I’ve ever eaten!
Have you ever tried Spaghetti Carbonara? My first time to try this luscious dish was at Ciro & Sons on our very first visit to Italy. I had never even heard of it before! I still can’t believe I had missed out for most of my life! Sigh!
After a really long day of traveling by train from Paris we checked into our hotel and I’ll tell ya, we were starving! Enough of the cheese crackers and fruit gummies! We were ready for some good Italian food! We set out walking and stumbled across this quaint, very Italian eatery at the end of the block. My husband and I were seated at a long family style table and immediately brought bread and garlic marinated olives which were exceptional! Garlic. Olives. Olive oil. What a simple idea! Yes, I’ve copied it over and over at home for the last fifteen years!
Then we were brought our pasta. My husband ordered his favorite, Pesto Spaghetti, which he thoroughly enjoyed. Then he tried my dish of carbonara and he was in love too! Love at first bite.
Bacon and eggs. Thats basically, in American terms, what carbonara is. Of course, in the heart of Tuscany, Bacon and eggs holds a whole new meaning. Here it is local pancetta, garlic, locally grown and pressed olive oil and farm raised eggs which are expertly blended into a creamy sauce covering freshly made, perfectly cooked pasta. Al dente Perfection! Who needs tomato sauce?
But they have tomato sauce too. Their pizza is out of this world. That oven is hot!
At Ciro & Sons in Florence, Italy where they make great pasta and pizza!
I’ve been back countless times over the years. One August, we had taken my youngest daughter with us to Italy and made Florence our home base. I rented a little apartment on the same street as the restaurant and planned to enjoy as many meals as we could while there. How disappointing it was that they were closed for their vacation all of August! Lots of businesses in Europe close during August for their vacations! My bad! I know now. Now you do too! Don’t go to Europe in August. Ciro and Sons will not be open. Too bad we can’t close our own restaurant for a whole month and travel! Our customers wouldn’t like that one bit and neither would our employees! Oh well.
At Ciro & Sons in Florence, Italy where they make great pasta and pizza! Sweet people too!
On my last trip to Italy, I planned a stop in Florence just to take my sister to Ciro and Sons. They were open. I made sure to check on their Facebook page. It was wonderful. I was so happy. My sister loved it too. Just like me, she began comparing their pasta to others we tried along our travels. One nice version we both tried while in Nice, France (catch the pun?) was good but just did not make the cut. It was good though.
We will be going again next May, 2016. I’m taking a group this time. I’m planning on making a special diversion on our trip to Ciro and Sons. Must share the love. Now… where will we park that tour bus?
We can’t travel to Florence every time I dream of Carbonara. Obviously. One day I turned on Oprah’s TV show and she had Tom Cruise on as a guest. To my absolute amazement, he did a cooking segment and made his favorite recipe. Thats right! Pasta carbonara. We both have good taste. Now. I make my best friend Tom’s favorite pasta dish. We are friends, right? We must be since we love it so much. Definitely worth jumping up and down on a couch for!
In a frying pan, combine 1/2 inch of olive oil, 2 cloves of minced garlic, one chopped onion and the Italian bacon cut into small squares. Let simmer for about a half-hour, being careful not to let the oil get to a boiling point.
In a bowl, beat 4 eggs with lots of salt and fresh ground pepper.
Bring a pan of salted water to a boil. Cook both packages of spaghetti until al dente, drain and immediately add egg mixture to pasta. The eggs are actually cooked by the pasta. (Make sure the eggs are thoroughly cooked before proceeding.) Stir the egg mixture until it is well mixed. Pour in the mixture from the frying pan and stir. Finish with the Parmesan cheese and serve!
Makes 4 servings
So, what are some of the best things you’ve ever eaten?
No southern Sunday supper table would be complete without a beautiful plate of Deviled Eggs. A simple recipe that is perfect beside baked ham for your Easter meal, as an appetizer before a bar-b-que or center stage on your party buffet table.
It doesn’t hurt that eggs are a good source of protein and each of these darling stuffed egg halves are just 51 calories each when you use sugar-free sweet pickles.
Cut eggs in half. Reserve yolks in bowl.
Smash the egg yolks with a forkAdd Miracle Whip and mustardUsing sugar-free sweet pickles lovers the calorie countSpoon filling mixture into egg white halvesEasy Southern Deviled Eggs
Southern Deviled Eggs
9 hard boiled eggs
5 tablespoons Miracle Whip
1 tablespoon mustard
3 sweet gherkin pickles, finely chopped
Cut hard boiled eggs in half. Remove yolks and place them in a bowl. Using a fork, smash up the yolks into fine pieces. Add Miracle Whip, mustard and the finely chopped sweet pickles to the egg yolks and mix throughly. Place a heaping tablespoon of yolk mixture in each egg white half. Enjoy!
Store in refrigerator.
Deviled eggs on an antique plate. Doesn’t every southern girl have one that’s been passed down to her? Paired with thick cut bacon for brunch or as an appetizer before a Sunday bar-b-que..
I have to make a confession. My “foodie” card may be taken away from me for admitting to this….
All my life, I thought that my grandmother made goulash the Eastern European way. After all, my MeeMee’s mother was German. Why would I have ever had thought differently? I was so wrong! I can’t believe at my age I am just coming to this realization!
My German great great grandmother, Nana.
How did I come to find the real truth about ‘goulash’? You see, my husband and I are planning a trip to Eastern Europe, taking a cruise down the Danube River through Hungary, Austria and Germany. This means that I’ve been doing a lot of research on places to visit including restaurants. I was so looking forward to experiencing a big bowl of goulash in the motherland of my ancestors but the photos on the cafe’s websites looked nothing like the bowls of pasta and ground meat that my MeeMee sat before us at her dining room table.
More research was necessary.
I’ll admit that I was a bit disappointed. Had my own grandmother lied to me all those years? It was the one dish that she made that I had looked forward to her serving on our visits.
I ran across a recipe on the Viking River Cruises website and decided to compare it to the one that I have known all those years. The European version has chunks of meat and no noodles but the spices were very comparable. My grandmother used chili powder and the European recipe using some of the same type spices including paprika.
I realized that the recipe had been changed to acomidate my family’s living in Texas with a growing family. Money was scarce and ground beef was more affordable. Pasta stretched the recipe to fill more hungry bellies. The chili powder had that same smokey flavor as paprika but was more available and affordable in Texas.
I’ll have to tell ya… I still like my MeeMee’s version even if it may not be the ‘real’ thing! I’ll bet y’all will too!
My grandmother’s Texan Goulash
MeeMee’s Texan Goulash
2 pounds ground beef
1 bell pepper, diced
1 yellow onion, diced
2 large cans peeled tomatoes (or Rotel tomatoes)
2 small cans tomato sauce
1 tablespoon chili powder
1 teaspoon sugar
Large bag of elbow macaroni
Sauté ground beef on top of stove in frying pan till done. Add diced bell pepper and onion and sauté until onion is almost translucent. Drain grease from pan.
In a Dutch oven, combine meat and vegetable mixture with tomatoes, tomato sauce and spices. Cover and simmer on stove about 20 minutes till bubbly. Meanwhile, boil pasta on stove in heavy saucepan till done. Add pasta to meat and tomato mixture. Taste. Add more chili powder at this point if you’d like.
Serve with crusty bread if you’d like.
Enjoy!
31.549333-97.146670
I may be known for baking some of the best made from scratch pies in the state of Texas, but did you know I've been a professional photographer for about 40 years now? Yikes!! That's a long time!! This blog is about combining my love of food, photos and traveling. I invite you to come along on my journey!

 Click here for Season 1, Episode 1 Triple Chocolate Cake
 Y’all check out Hadley’s Daddy’s wellness business in the north Dallas area!